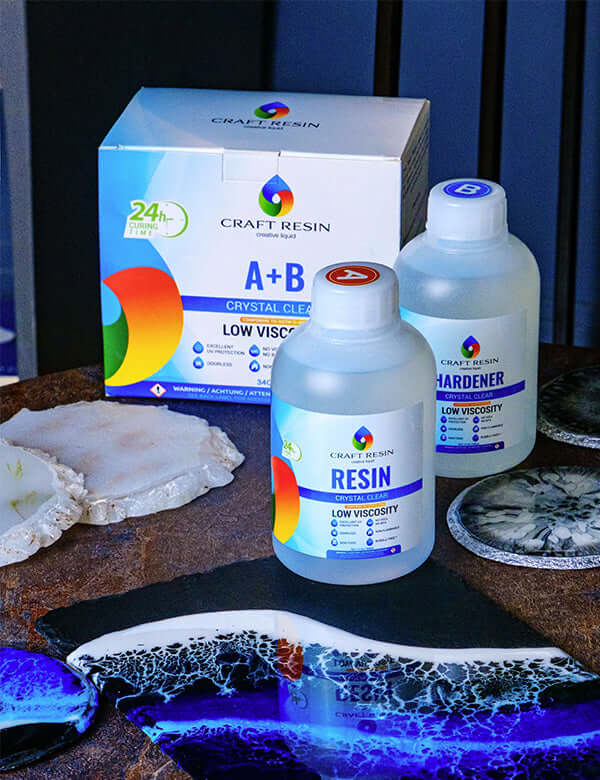
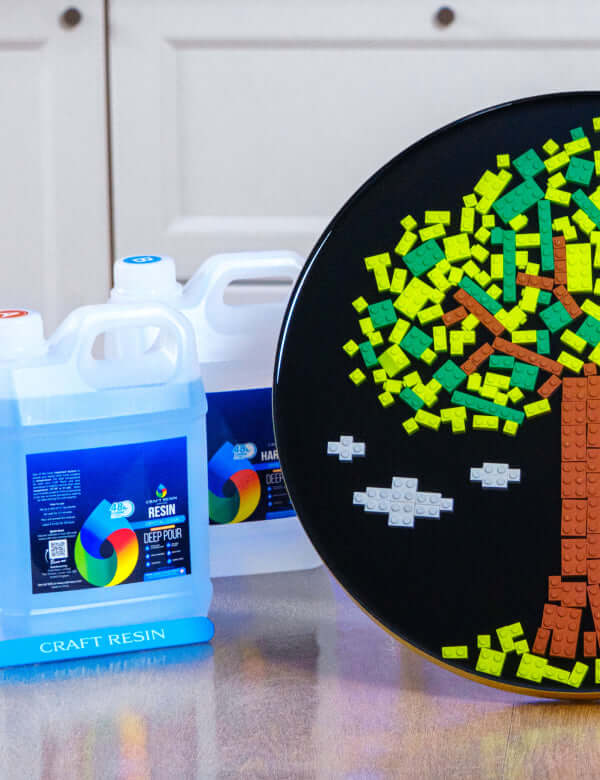
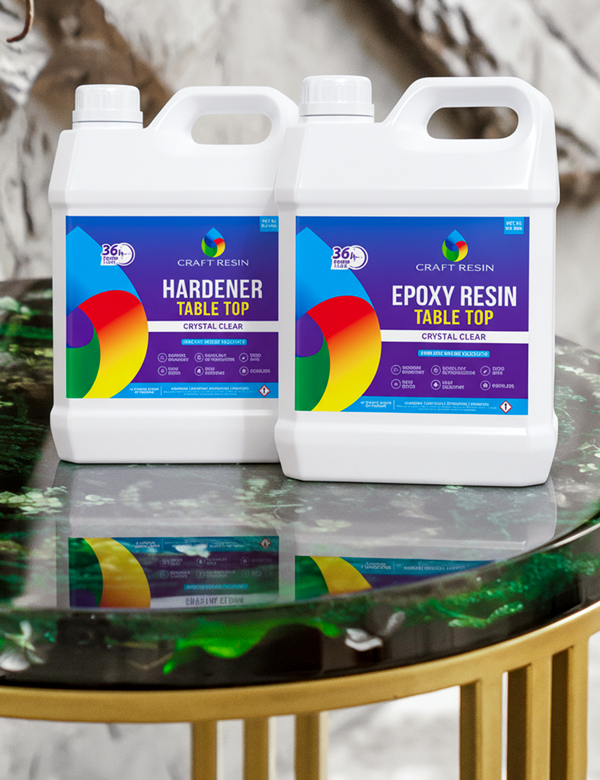
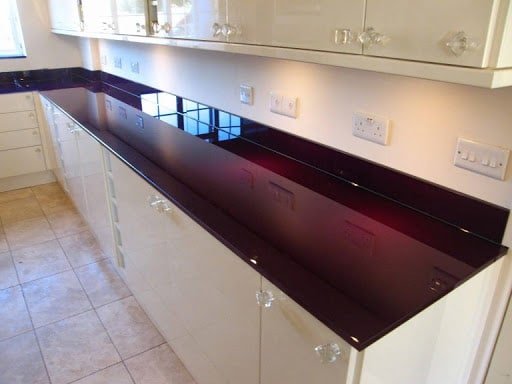
We get a lot of people contacting us about creating an epoxy resin countertop/worktop and asking if they could use our resin to do this, which you absolutely can.
But we would like to stress that you will need to follow techniques to the letter in order for this to work perfectly, in our opinion this is an advanced resin project.
If you are a complete beginner to using epoxy resin, you may want to start and experiment on a smaller, less expensive project than your kitchen worktops at the beginning.
If your project does go wrong because you haven’t followed the techniques, fixing the mistakes can be costly and very time consuming, you might wish you had just bought that normal kitchen countertop instead of coating your own.
We would suggest watching lots of YouTube videos and learning from artists who create this kind of project all the time, as well as reading this blog before starting on a project like this so that you know how to do it, how to fix it if it does go wrong and also what it will take to achieve.
The above being said, lots of people have successfully created projects like this, so if you’re up for the challenge and still interested, lets get stuck into this project…

Step one pick your work area carefully:
Most of the time if you are working to create a kitchen countertop specifically, you will be trying to create a perfectly polished, light coloured surface area that is beyond beautiful.
When working with epoxy resin you need to ensure that you are working in a clean space, any spec of dust, animal hair, food dirt etc, will find its way into your project if it is near. This can be difficult to remove during the process and once fully cured impossible to get out.
You want to make sure that the temperature in the area you will be working in is between 70-75F or 21-24C and the humidity is low. Too hot, too cold and too humid will cause imperfections and the possibility of the resin not curing (hardening up).
The above being said, you will need to work in a well ventilated area, or at least keep other people in your house away and wear protective equipment like a respirator, gloves and an apron as a minimum. Read more about our safety guidance here.
Step two prepping the countertop/worktop:
Get your countertop/worktop in an area where it is free standing, and you can get access all around it. You could use a clean workbench to place it on, however please make sure this is level by using a spirit level before pouring your epoxy resin onto it.
If you can get around your countertop in your kitchen area then you can leave it where it is, but this will make the next part, protecting the area around it even more important.
You will also want to cover the flooring that it is on and make sure this covering is larger than the edges of the countertop, if any epoxy resin spills over it will fall on this and you can dispose of it or pick it off once it is fully cured. You will need to make sure this covering isn’t material, so that the epoxy resin will not soak through it, plastic sheeting is much better for this task.
Epoxy resin will self level, and move into positions, so make sure that even the spillages onto this protective covering won’t spill over the edges of this area. Epoxy resin is extremely sticky and hard to clean up when spilled so you want to ensure everything around your work area is protected.
Once you have this in place you can then apply tape to the underside edges of the countertops, normal packing tape works perfectly for this. A couple of layers of tape is best. The reason you do this part is that when the epoxy spills over the edge, bubbles will appear just on the underside of the countertop. When the epoxy is cured and the tape is removed these will pull away easily and then you won’t have to sand them off, which can be very difficult to do and also time consuming.
Next you want to clean your surface area, depending what you are using as the countertop base, will depend on how you prepare the surface. You might need to seal it first with something like Gasso as a sealant, which would work well over MDF. Or you can use a thin layer of epoxy to seal it first and then build up more layers after that.
If you have painted the surface area first, say to create a marble effect to your countertop, you will need to wait till this is fully dry before pouring the epoxy onto the surface. We would probably recommend waiting at least a week or two for this to dry fully.
Step three preparing the epoxy resin:
The guidance on how to use epoxy resin in our blog is specifically designed for use with our brands resin, Craft Resin. Other brands may vary, if you are using another you will need to check the guidance with them.
Depending on the size of your countertop, you are most probably going to need a larger quantity of epoxy resin for the task. If you are unsure how much you will need, use our handy resin calculator to work out how much you will need to purchase for your project.
Because of the amount you will be mixing, you are more likely to generate a higher exothermic reaction than when using a small amount, and therefore you will want to try to minimise this as much as possible. If you can get a wider and more spread out mixing container, instead of a taller thinner one, this will help the heat to not build up too much. You can read more about the exothermic reaction here.
You will need to measure your Craft Resin epoxy resin hardener and resin parts, measure equally and accurately by volume, not weight. Adding too much of either the epoxy resin or the hardener will alter the chemical reaction and your resin will not cure properly.
Stir your equal amount of resin craft and hardener together for at least 3 minutes, make sure you use a timer for this stage and you might want to mix for longer than this to ensure it is mixed enough, but we would suggest not going above 5 minutes in total for this project. Failure to stir properly will result in a sticky resin that will never cure.
When stirring large amounts you can use a paint stick/stirrer and mix slowly, the faster you mix the more heat and bubbles will build up.
Scrape the bottom and sides of your mixing vessel as you stir to ensure the entire mixture catalyses and that there is no remaining unmixed art craft epoxy or hardener stuck to the sides that may prevent a proper cure.
If bubbles appear, don’t worry—you can get rid of them using a torch later.
When you pour the crystal clear epoxy resin out of the mixing vessel, avoid scraping the sides in case there is any unmixed resin or hardener stuck to the sides - if this gets mixed into your catalysed resin, you may end up with soft sticky spots in your cured resin.
Step four flood pouring the resin mix:
To flood pour your resin you want to pour the resin over the countertop area, moving up and down the countertop as you go to cover the epoxy as evenly as you can, don’t worry at this stage if you do have gaps where you have poured it, you will go over these in a second.
Once the mixing container is empty, remembering not to scrape the sides and bottom, some resin mix will still be in it, but don’t worry this can be taken out once cured, or you can throw the mixing container away afterwards.
You want to spread the resin evenly over the top to help it to move. You can do this gently with your hands or a small paint roller, making sure that you have gloves on, and if you can get gloves that come up past your wrists and up your arms this will protect you even more.
Simply spread the epoxy gently with your hands/roller so that the whole surface area is covered, then go round the sides and make sure the sides are covered to. It can look uneven at this stage but remember it self levels so it will become more even over the next few minutes. If you notice any dents in it starting to appear, this may mean the surface isn’t entirely flat and the resin is then pooling in these areas. A second or third coat should even this out over time.
It will also drip over the sides slightly, but after pouring you can get the worst of this off by taking your paint stirrer stick and running it over the under edges of the piece and scraping it off into the epoxy resin mixing container. The rest will be able to be removed when you take off the tape once it’s cured.
If you get to this point in your project and you realise you haven’t go enough epoxy resin, don’t panic. Simply spread it over as best you can and then leave it to self level, you can sand the top down once fully cured and add more to layer it up. Or leave it to cure for about 4 hours and add another layer at this stage. You can read about layering here.
Step five dispersing bubbles:
Once you have poured the resin you may notice that some bubbles start appearing on the surface of your countertop, these can easily be removed with a blow torch. Simply turn your torch on, following the torches instruction manual, and then wave the torch over the areas with the bubbles on them.
Don’t leave your torch on one area, use sweeping motions, and don’t get the torch too close either. It is a direct hit of heat and so it doesn’t actually need to be that close in order for it to make the bubbles disperse. You will see this happening before your eyes.
It is possible to over torch epoxy resin. Over torching happens when you the flame of a torch is held too closely to your freshly resined surface, or you hold the torch for too long in one place. You'll know you've over torched when you see dimpling or rippling in your cured craft resin, and possibly even yellowing or discolouration.
The good news is that over torching is easily prevented: Simply hold your torch a few inches away from the surface so that the flame is just kissing the art epoxy resin. You'll see those bubbles disappear right away - if you don't, it means you need to move in a tiny bit closer. Keep your torch moving in a back and forth fashion across the entire surface, as if you're ironing clothes. Remember, when it comes to torching, less is more!
If you think you have overarched your countertop, you can fix it, using the guidance here.
Step six curing and finishing off your countertop:
Once you have the pouring done and you are happy with it, you will need to leave it alone to cure. This is a crucial step and you will again need to keep the area around your curing resin as clean as possible and don’t use your area as a walk through. This will ensure minimal dust and dirt will get onto your project.
Curing will take about 24 hours, after this point you will be able to take the tape off the underside and no more drips will appear. However you will need to leave it longer still before using as a countertop. 72 hours is a good guide for this, however test a small area first before putting items straight onto it. Remember if the temperature is too cold when curing, this can take a lot longer.
Once it is fully cured you should be able to sand any bottom areas that still need a little tidy up around the underneath of the edges. You can then move the countertop back into position and fix it into place, or if it doesn’t need moving, wipe over with a damp cloth, or a cloth and soapy water to clean.
This is a very basic guide to creating this type of project, as we said at the beginning please do lots of research before starting, especially if you don’t have lots of time or money to fix if the project goes wrong.
To create different colour effects in the resin or with paint before hand, we would also suggest doing your own research into this too. Epoxy resin is clear, which can look great straight over wood for a bar area, but you might want to create the marble look for kitchen tops.
If you do tackle a project like this, we’d love to hear how you got on or even see your images, if you would like to tag us on Instagram we can easily see them through there @craft.resin.
Enjoy creating,
Team Craft Resin

