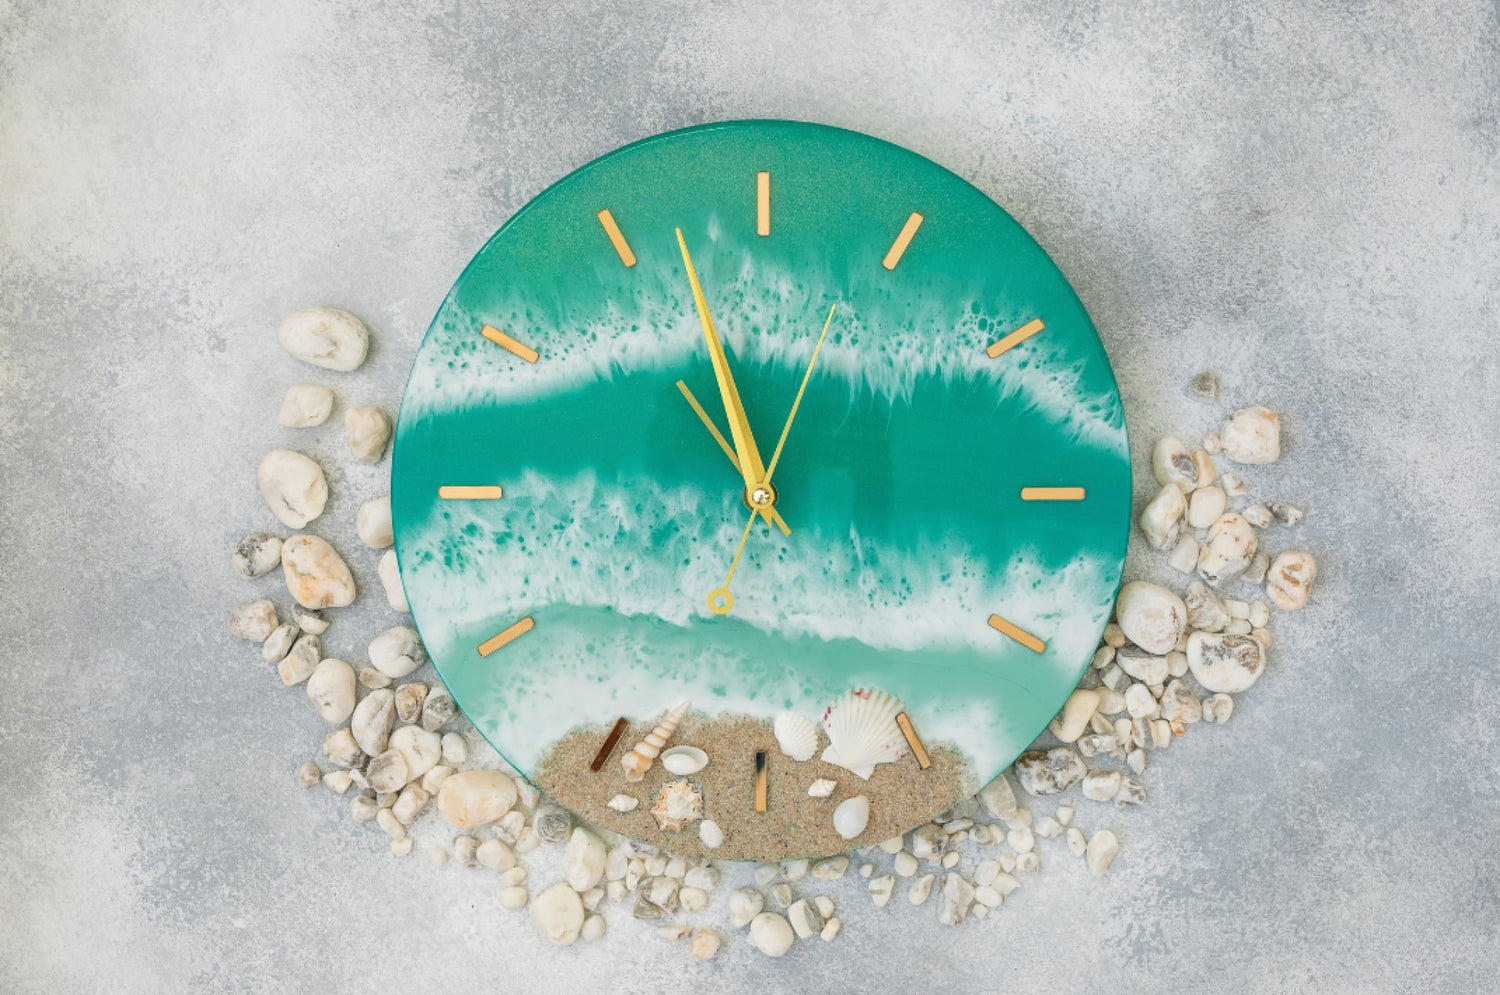
If you’ve been following our social media channels for a while now, you would have seen lots of beautiful resin art that looks like it’s come straight from the beach. Making your own resin ocean art can be super fun and really simple to create the wave effects when you follow the steps below.

First of all you’ll need to select your base. What shape, size and overall look do you want to create with your ocean art? These will all factor in to make the decision to what you would like to create your ocean art on, but a simple idea to get started is a square or round wooden canvas. Wooden canvases are more study than material canvases and so will hold up to the layers of resin that you will be putting onto it.
As with all resin projects, it might be best to experiment with something smaller at first till you master the techniques then you can move onto larger pieces. This will also help you to keep the cost down at the start, the smaller the project, the less wasted resin you will end up with when you’re experimenting.
You will need to prime your canvas before you begin, using something like gesso, or a normal white house paint, you’ll want to create about 3 or 4 layers so that you minimise the look of the canvas grains coming through your resin art. Once the layers are all dry you will be able to begin.
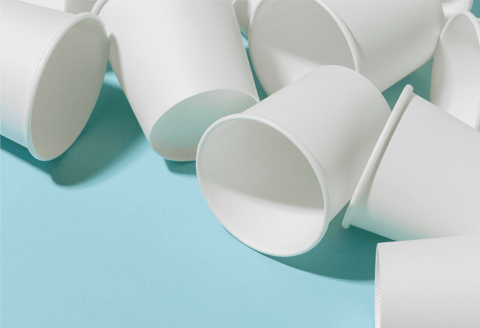
You’ll want to create a base, or legs for your canvas to stand on that is above the table you’ll be working on for the project, this will then enable to resin to roll over the sides and create a more three dimensional look to your artwork. Use four or five upside down plastic/paper cups to do this, or something similar. You will need to make sure the table below is covered with a plastic sheeting for protection before you begin, resin can get everywhere!
Before you start pouring the resin you will also need to ensure that the canvas is level, using something like a simple spirit level for this.
When preparing your resin you will need to follow our recommended technique for measuring, mixing and pouring. Resin is a clear substance and as you’ll be making waves you will want to make it blue and white, the Craft Resin Mica Powder blues and pearl white make great colours for some natural looking waves.
When it comes to adding colour you only need a small amount, you can always add a bit more to get a darker look as you mix, but never exceed more than 6% of the total resin mixture. You will want to mix a couple of the blue colours so that you get a few variations of blue in your work, you can use the same blue Mica and just add in slightly less to achieve a different colour.

You might also want to mix a creamy colour so that you can create a sand effect and you’ll definitely need a splash of white for the amazing waves. You can even add actual sand into your creamy resin mix so that the grains fo the sand stick out to create a cool effect. You will need to ensure the sand oil completely dry before adding to your artwork though.
Once your resin’s are mixed then you can start to pour, we like to start with the sand in one corner or bottom section of your canvas, creating a beach area to your work. Then we head to the opposite end and start to add in the lighter blue mixture to the board. You can make it quite messy at this point, and then use a flat object like a ruler to spread it out more evenly.
Once you have some of the blue on the board, you will want to add in a darker blue mixture further away from the sanded area. Creating a darker sea further ways from the beach area makes for an authentic ocean look, the sea is always darker the deeper it gets.
Have fun with this part and create lots of lines and shaded areas with your deeper blue, these will blend in a bit so they won’t look like sharp lines once they have. It’s also a good idea to leave a bit of white space between the sand and the blue, you don’t want these to bleed into each other if you can help it. This will also be the area that you’ll add in the white and create the wave effect shortly.
Once you have the blue down, it’s time to add in the white, this will help create the waves and the cells.
What you want to do is pour a thin line of white along the shoreline of the artwork to start, then add in lines further out as you go, this part may take some experimenting to see exactly how many lines you’d like to do and how thick they will need to be to get an authentic look.
You can pour straight from the mixing container if it has a pointed lip to it, or you can use the ruler or spatular you have used to mix the resin to drip it over the artwork in lines. Don’t worry about making the lines look too neat at this point because they will be manipulated with a hair dryer very soon.
Once you have your white lines poured you will need to get your hair dryer, preferably with the nozzle on the end to help direct the flow in a more confined space. You want to have the settings of your hairdryer onto a warm setting, not cool. You also want it on a low setting so you have complete control at all times.
Holding the hairdryer facing straight down onto your resin art over the white lines, gently hover the hairdryer over and then move it along the lines. You should see the waves start to form before your eyes. Again some practise might be needed to see how close to hold the hairdryer and at what angle will get the best results for your waves, but that’s the fun part right!
As you do this the resin may ripple a bit, but don’t worry too much about that, as long as you are moving the heat along and not keeping it in one place for too long you will get the desired affect and the resin will level out once again.
Repeat this step over all of the white lines you added to your artwork, and manipulate it with the hairdryer till you have the desired look. Remember to go slow, its better to do too little and add more movement and heat in stages than to blast too much!
Once you have your desired look you can then go over your entire work with your heat torch to remove any surface bubbles that have appeared as you normally would over any other resin project. To learn how to do that, visit our blog on using a torch.
And there you have it, leave your work to cure as you normally would and you have yourself your very own piece of Ocean Resin Artwork.
Team Craft Resin

