


Most epoxy resin projects become tack-free within 12–36 hours and reach full cure within 48–96 hours, depending on the formula, pour depth, temperature, humidity, and mixing accuracy. The safest way to plan your project is to separate the curing process into stages: pot life, tacky stage, tack-free time, and full cure.
Most resin mistakes do not happen during the pour. They happen because of what comes before it and what happens after it. Curing time sits at the centre of both.
If you demold too early, the piece warps or picks up fingerprints that cannot be removed. If you add a second layer at the wrong moment, you get a visible line between the two pours or a bond that fails under handling. If the room gets cold overnight during cure, the resin stays soft. If you pour too thick without understanding how heat builds up during curing, the piece cracks or turns yellow before it even sets. None of these are product failures. They are all timing and environment failures.

Understanding curing time also changes how you plan your projects. A river table build takes days across multiple staged pours. A coaster needs one pour and a 24-hour wait. A countertop coating can be touched in a day but needs three weeks before you put anything heavy on it. Knowing the numbers before you start means you can schedule your work, prepare your space, and get a result that matches what you imagined rather than discovering the rules after something has already gone wrong.
Curing is also not a single moment. It is a process with distinct stages: the working window while the resin is still liquid, the tacky stage where layering is possible, the tack-free stage where demolding is safe, and full cure where maximum hardness and heat resistance are reached. Each stage has different rules about what you can and cannot do with the piece. Treating them as one single event is one of the most common causes of resin fails across every type of project.
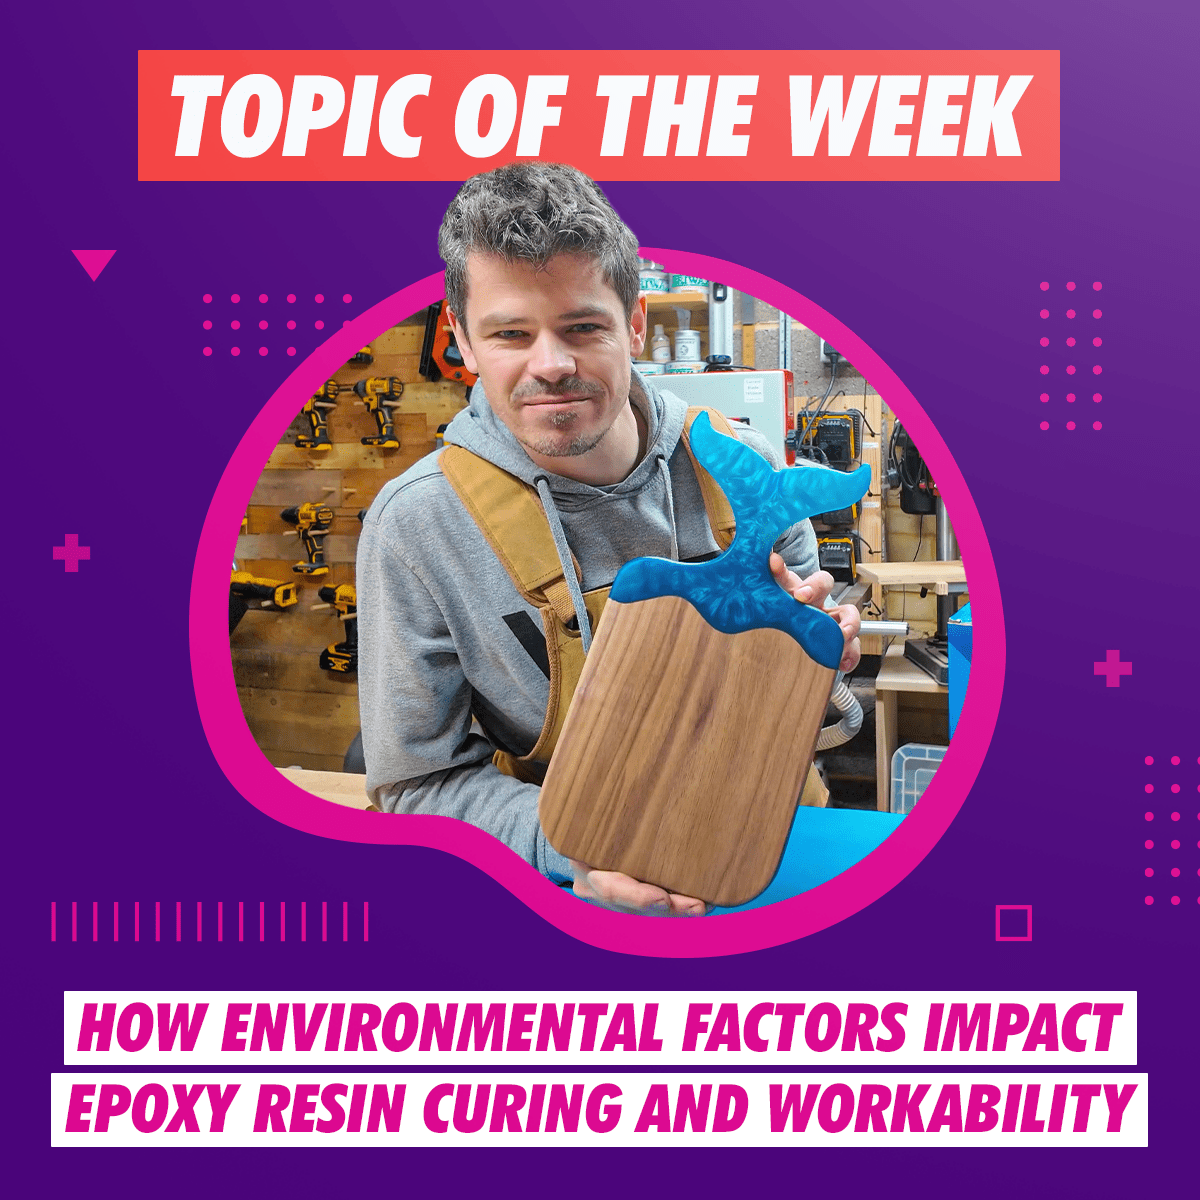
This guide covers the full curing timeline for every Craft Resin formula, explains exactly what drives the process, and gives you the practical knowledge to make decisions at every stage of your project with confidence.
- What pot life and curing time mean and why the difference matters
- Exact curing timelines for Craft Resin Arts and Crafts, Table Top Epoxy, and Deep Pour formulas
- How temperature, humidity, and ventilation affect the curing process
- Why epoxy resin cracks, stays sticky, or turns yellow during cure and how to prevent it
- Step-by-step guidance for layering, timing, and working in different environments
- Full FAQ with answers to the most common curing questions
Epoxy Resin Cure Time Chart by Craft Resin Formula
| Specification | Arts and Crafts Resin | Table Top Epoxy | Deep Pour Resin |
|---|---|---|---|
| Mix ratio | 1:1 by volume | 1:1 by volume | 2:1 by volume (resin to hardener) |
| Pot life | 30 to 40 minutes at 75°F / 24°C |
30 to 45 minutes | 45 to 60 minutes |
| Tack‑free time | 12 to 24 hours | 12 to 24 hours | 24 to 36 hours |
| Full cure time | 48 to 72 hours | 72 hours for everyday use, 21 days for full hardness |
72 to 96 hours |
| Maximum pour depth | 3mm / 1/8 inch per layer |
3mm / 1/8 inch per coat |
Up to 6 cm / 2.5 inches per layer |
| Best working temperature | 70 to 80°F / 21 to 27°C | 70 to 80°F / 21 to 27°C | 70 to 80°F / 21 to 27°C |
| Ideal humidity | 40 to 50% | 40 to 50% | 40 to 50% |
Always check the label of your specific product, as times can vary slightly depending on ambient conditions and the formula batch.
What Is the Epoxy Resin Curing Process?

When you mix epoxy resin (Part A) and hardener (Part B) together, a chemical reaction called polymerization begins. This reaction transforms the liquid mixture into a solid, durable, glass-like material. The process happens in two distinct stages: pot life and curing time. Understanding both is the foundation of every successful resin project.
The polymerization reaction also generates heat, known as an exothermic reaction. Managing this heat is one of the most important skills in resin crafting, particularly for larger or deeper pours where heat can build up and cause cracking, yellowing, or even a complete project failure.
Want to see the curing process explained visually before you start? Watch our full guide to working with epoxy resin to understand exactly what happens from the moment you mix to the moment your piece is fully cured.
Pot Life vs Curing Time: What Is the Difference?
These two terms are often confused, and mixing them up causes some of the most frustrating resin mistakes.

Pot life is the working window. It is the amount of time you have after mixing resin and hardener before the mixture becomes too thick to pour, spread, or manipulate. Once pot life ends, trying to work with the resin will leave streaks, drag marks, and uneven surfaces.
Curing time is the total time the resin needs to reach full hardness. Even when resin feels solid or tack-free, the chemical reaction is still continuing inside. Full cure means maximum hardness, scratch resistance, heat resistance, and clarity.
| Stage | What It Means | What You Can Do |
|---|---|---|
| Pot life | Working window after mixing | Mix, pour, add colorants and inclusions |
| Tack‑free | Surface feels solid but is still soft inside | Remove from mold carefully, do not sand or use yet |
| Full cure | Complete hardness, maximum durability | Sand, polish, coat, use the piece normally |
Curing Timeline by Craft Resin Formula
Arts and Crafts Resin: Curing Timeline in Detail

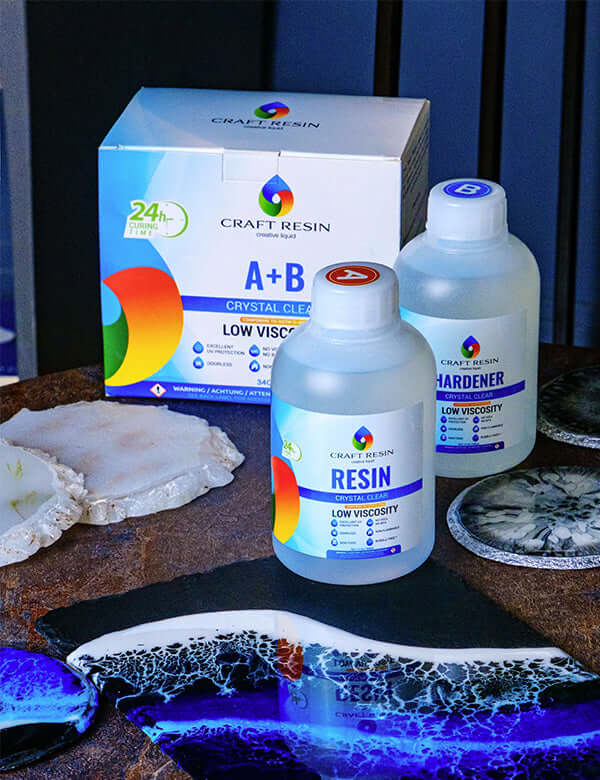
Craft Resin Arts and Crafts is designed for smaller creative projects: jewelry, coasters, trays, canvas coating, and thin molds. Its 30 to 40 minute pot life is ideal for detailed work where you need control over the pour.
0 to 40 minutes (pot life): This is your full working window. Mix, pour, add pigments, place inclusions, and manipulate the surface during this time. After 40 minutes the resin begins to thicken noticeably and working with it becomes difficult.
4 to 6 hours (tacky stage): The surface starts to gel. If you are layering, this is the ideal window to add your next pour. The layers bond chemically at this stage, creating the strongest possible join. If you miss this window and the first layer fully hardens, sand lightly with 220-grit paper before adding the next coat.
12 to 24 hours (tack-free): The surface feels solid to the touch. You can carefully demold at this stage, but the piece is still soft internally. Do not sand, drill, or apply force yet.
48 to 72 hours (full cure): Maximum hardness and durability. After full cure you can sand, polish, drill, and use the piece normally. Heat resistance and scratch resistance reach their peak at this point.
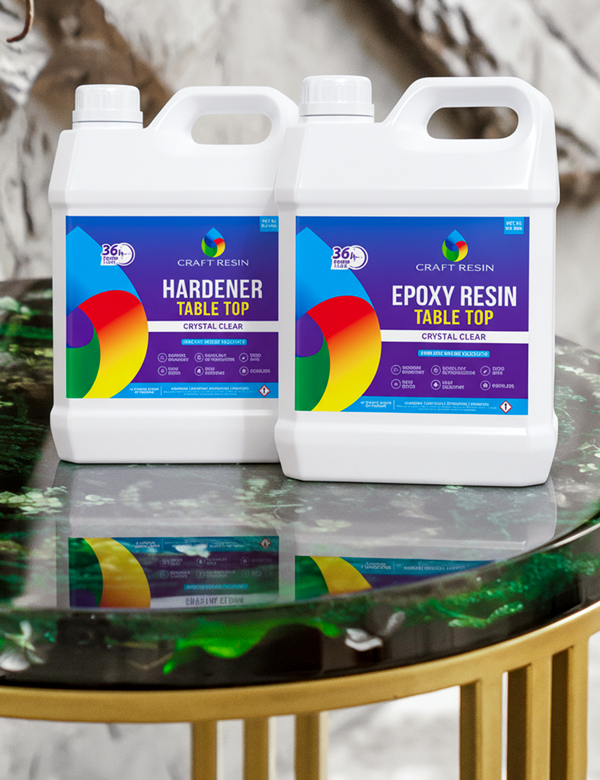
Table Top Epoxy: Curing Timeline in Detail

Craft Resin Table Top Epoxy is designed for coating projects such as countertops, bar tops, tabletops, trays, and other surfaces that need a hard, glossy, protective finish. It has a working window of around 30 to 45 minutes and should be applied in thin coats.
0 to 45 minutes (pot life): Mix, pour, spread, and level the coating during this window. Once the resin thickens, avoid overworking the surface, as this can leave marks or uneven texture.
12 to 24 hours (tack-free): The surface may feel dry to the touch, but it is not ready for heavy use. Avoid placing objects on the surface or applying pressure too early.
72 hours (everyday use): The coating is suitable for light, normal handling after the initial cure period, assuming the room has stayed within the recommended temperature range.
21 days (full hardness): Maximum hardness, durability, and resistance develop over time. For countertops and high-use surfaces, avoid heavy objects, heat exposure, and strong cleaning products until full hardness is reached.
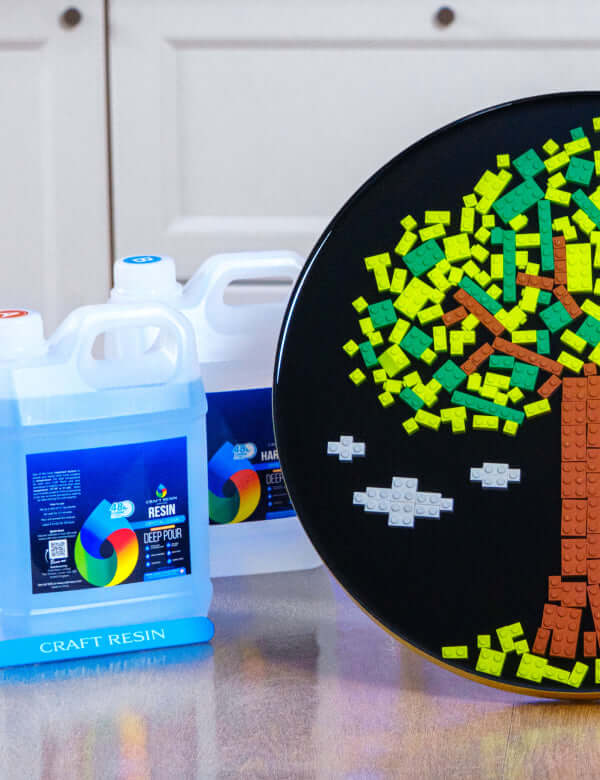
Deep Pour Resin: Curing Timeline in Detail
Craft Resin Deep Pour is engineered for thick castings: river tables, deep molds, flower preservation blocks, and large encapsulations. Its longer pot life and slower cure rate help prevent heat buildup during thick pours.
0 to 60 minutes (pot life): Your working window. The extended time is essential for large volume pours where placing inclusions, adjusting the pour, and managing the material takes longer.
24 to 36 hours (tack-free): The surface gels and feels solid. If you are staging pours in layers, this is the optimal window to add the next pour for the strongest chemical bond between layers.
72 to 96 hours (full cure): The casting reaches full hardness and durability. Do not rush demolding on large river table projects. The weight and size of the piece make it vulnerable to warping or surface damage if handled too early.
For a full walkthrough of how to stage Deep Pour layers correctly and avoid the most common deep casting mistakes, watch our Deep Pour resin tutorial.
How Temperature Affects Epoxy Resin Curing
Temperature is the single most important environmental factor in resin curing. It directly controls the speed and quality of the polymerization reaction.

Ideal temperature: 70 to 80°F (21 to 27°C)
At this range, resin flows well, bubbles release naturally, and the cure proceeds at a steady, controlled rate that produces a clear, hard result.
Too cold (below 65°F / 18°C)
The chemical reaction slows down dramatically. Resin becomes thicker and harder to work with. Bubbles take longer to rise. The cure may stall entirely in very cold conditions, leaving the piece permanently soft or sticky. A cold floor, a drafty workspace, or an unheated room in winter can all cause this problem.
If you need to work in cooler conditions, warm both bottles in a warm water bath for 10 to 15 minutes before mixing. This lowers viscosity and helps the reaction start correctly. Keep the curing piece in a warm room for the full cure period.
Too hot (above 85°F / 29°C)
The reaction accelerates and generates more heat than it can dissipate. This increases the risk of cracking, yellowing, and in severe cases a runaway exothermic reaction on large pours. Avoid working in direct sunlight or leaving curing pieces near heat sources.
| Temperature | What Happens | What to Do |
|---|---|---|
| Below 60°F / 15°C | Cure may stall, resin stays soft | Warm bottles, heat the room |
| 60 to 65°F / 15 to 18°C | Slow cure, increased bubbles | Warm workspace before starting |
| 70 to 80°F / 21 to 27°C | Ideal cure conditions | No adjustment needed |
| Above 85°F / 29°C | Risk of cracking and yellowing | Work earlier in the day, avoid sunlight |
How Humidity Affects Epoxy Resin Curing
High humidity introduces moisture into the curing resin. Moisture interferes with the chemical bond between resin and hardener, causing cloudiness, a milky surface, or an uneven finish.
The ideal working humidity is 40 to 50%. Above 65%, you risk surface cloudiness and adhesion problems. If you live in a humid climate or are working in summer, consider using a dehumidifier in your workspace or choosing early morning hours when humidity is lower.
Moisture can also come from tools, molds, and work surfaces. Always make sure every surface and tool that contacts uncured resin is completely dry before starting.
How Ventilation Affects Epoxy Resin Curing
Good ventilation in your workspace helps dissipate the heat generated during curing and prevents fume buildup. However, direct drafts from fans or open windows cause two specific problems: they cool the resin surface unevenly, which affects how it levels and cures, and they carry dust directly into the wet surface.
The right approach is background ventilation without direct airflow over the project. Open a window in an adjacent room, use an air purifier, or work with the door slightly open. Always wear appropriate PPE including gloves and safety glasses, and a respirator if your space has limited airflow.
Why Epoxy Resin Cracks, Yellows, or Stays Sticky
Most curing failures come from one of five root causes. Understanding which applies to your project makes the fix straightforward.
- Wrong mixing ratio. Using more or less hardener than specified means the chemical reaction never completes correctly. Arts and Crafts resin and Table Top Epoxy are 1:1 by volume. Deep Pour is 2:1 by volume. Always measure by volume using graduated cups, not by weight. Even a small measuring error affects the cure.
- Incomplete mixing. Undermixed resin leaves pockets of uncured material that stay soft or sticky permanently. Mix slowly for 3 to 5 minutes, scraping the sides and bottom of the cup throughout. Transfer to a second clean cup and mix again briefly to eliminate any unmixed material on the cup walls.
- Pouring too thick. Arts and Crafts resin and Table Top Epoxy have a maximum recommended pour depth of 1/8 inch (3mm). Exceeding this can cause excessive heat buildup during the exothermic reaction, which can crack, yellow, or warp the piece. For deeper projects, build thickness in multiple thin layers or use Deep Pour resin.
- Wrong temperature during cure. If the room temperature drops below 65°F during the cure period, the reaction can stall. The piece may feel solid on the surface but remain soft underneath. Moving the piece to a consistently warm room often allows the cure to resume and complete.
- Incompatible additives. Oil-based paints and water-based dyes interfere with the curing chemistry and can prevent the resin from hardening permanently. Use only resin-compatible colorants: mica powders, alcohol inks, resin pigment pastes, and silicone dyes. Keep colorant additions below 5 to 6% of the total mix volume.
For a visual breakdown of common curing mistakes and how to diagnose them, watch our troubleshooting guide for epoxy resin.
How to Layer Epoxy Resin Correctly
Layering is one of the most important techniques in resin crafting. It allows you to build depth, embed inclusions at different levels, and avoid the heat buildup that comes from single thick pours.
The tacky window method: After pouring your first layer, wait until it reaches the tacky stage: usually 4 to 6 hours for Arts and Crafts resin and 18 to 24 hours for Deep Pour. The surface should feel like the back of a sticker, sticky but leaving no fingerprint. Pour the next layer directly on top. The two layers bond chemically and the join becomes invisible.
The sanded method: If the first layer has fully hardened, lightly sand the surface with 220-grit sandpaper, wipe away all dust with a dry cloth, and pour the next layer on top. The sanded surface gives the new layer mechanical grip. The bond is slightly less seamless than the tacky method but still produces a clean result.
| Method | When to Use | Result |
|---|---|---|
| Tacky window pour | First layer at gel stage | Invisible chemical bond |
| Sanded recoat | First layer fully cured | Clean mechanical bond |
| Direct pour on liquid | First layer still fully liquid | Layers merge and can cause mixing issues |
Pro Tips for a Perfect Cure
Warm your bottles before mixing in cool conditions. Place both closed bottles in a bowl of warm, not hot, water for 10 to 15 minutes before measuring. Warmer resin has lower viscosity, mixes more evenly, releases bubbles faster, and starts the curing reaction more reliably.
Cover the piece during cure. Place a loose cover over the curing piece to protect it from dust. Do not use an airtight cover. A cardboard box placed loosely on top works well. Keep the room at a stable temperature for the full cure period, including overnight.
Do not move or tilt the piece during cure. Any movement during the liquid or gel stage causes surface marks, fingerprints, and uneven areas. Place the piece on a level surface, confirm it is level with a spirit level, and leave it completely undisturbed.
Do not judge the cure by touch alone. A piece that feels solid at 24 hours is not fully cured inside. Full hardness, scratch resistance, and heat resistance all develop over the full cure period. Using or handling the piece too early risks permanent surface damage.
Quick Recap
Before every resin pour, keep these points in mind:
- Arts and Crafts: 30 to 40 min pot life, full cure 48 to 72 hours
- Table Top: 30 to 45 min pot life, 72 hours for everyday use, 21 days for full hardness
- Deep Pour: 45 to 60 min pot life, full cure 72 to 96 hours
- Ideal temperature: 70 to 80°F / 21 to 27°C throughout the pour and the full cure
- Ideal humidity: 40 to 50%
- Mix ratio: 1:1 by volume for Arts and Crafts and Table Top, 2:1 by volume for Deep Pour
- Maximum pour depth: 3mm for Arts and Crafts and Table Top, up to 6 cm / 2.5 inches for Deep Pour
- Layer in the tacky window for the strongest bond between layers
- Full cure is required before sanding, polishing, drilling, or daily use
FAQ: Epoxy Resin Curing Process
How long does epoxy resin take to cure?
Craft Resin Arts and Crafts epoxy resin is tack-free in 12 to 24 hours and reaches full cure in 48 to 72 hours. Table Top Epoxy can usually be handled for everyday use after 72 hours but reaches full hardness after 21 days. Deep Pour resin is tack-free in 24 to 36 hours and fully cured in 72 to 96 hours. These timelines assume stable room temperature of 70 to 80°F / 21 to 27°C throughout the cure period.
Why is my epoxy resin still sticky after 24 hours?
The most common causes are an incorrect mixing ratio, incomplete mixing, or a room temperature below 65°F / 18°C during the cure. If temperature was the issue, move the piece to a warmer room and allow more time. If the mixing ratio was wrong, the piece may not be recoverable and a fresh pour with accurate measurements is usually needed.
Can I speed up epoxy resin curing?
You can slightly accelerate curing by working at the higher end of the recommended temperature range and keeping the room consistently warm throughout the cure. Do not apply direct heat from a heat gun or torch to a curing piece, as this can cause yellowing, cracking, bubbles, or surface marks. Avoid curing above 85°F / 29°C.
What happens if I pour epoxy resin too thick?
Pouring epoxy resin thicker than the recommended depth causes heat from the curing reaction to build up inside the pour. This can lead to cracking, yellowing, warping, bubbles, or in extreme cases a dangerous heat spike. Always stay within the recommended pour depth for your formula and build thicker projects gradually across multiple layers.
How do I know when epoxy resin is fully cured?
Epoxy resin is fully cured when the piece is completely hard, scratch-resistant, and no longer has any flex or give. For Arts and Crafts resin, full cure is usually 48 to 72 hours. For Deep Pour resin, full cure is usually 72 to 96 hours. A fully cured piece should feel firm throughout, not just dry on the surface.
Does temperature affect the final clarity of epoxy resin?
Yes. Curing at too low a temperature can cause cloudiness, bubbles, a wavy surface, or a soft finish. Curing in direct sunlight or above 85°F / 29°C can increase the risk of yellowing and cracking. Keeping the workspace within the recommended temperature range helps produce the clearest, hardest, most consistent result.
How long should I wait before sanding or polishing cured epoxy resin?
Wait until the resin has reached full cure before sanding or polishing. For Arts and Crafts resin, this is usually 48 to 72 hours. For Deep Pour resin, wait 72 to 96 hours. Sanding too early can leave drag marks, create a gummy surface, and make the finish harder to polish cleanly.
Can humidity cause epoxy resin to not cure properly?
Yes. High humidity introduces moisture into the curing resin and can interfere with the chemical bond between resin and hardener. This may cause a cloudy or milky surface, a tacky finish, bubbles, or adhesion problems between layers. For best results, work in a dry space with 40 to 50% humidity and make sure all tools, molds, flowers, and surfaces are completely dry before starting.
Ready to Choose the Right Resin for Your Project?
The easiest way to avoid curing problems is to start with the correct formula for your project depth, surface type, and working time. Choose the resin that matches what you want to make:
- Shop Arts and Crafts Resin for coasters, jewelry, trays, small molds, canvas art, and thin creative pours.
- Shop Table Top Epoxy for countertops, bar tops, tabletops, trays, and glossy protective surface coats.
- Shop Deep Pour Resin for river tables, deep molds, flower preservation blocks, and thicker casting projects.
Further Reading
For more on working with Craft Resin formulas and getting the best results from each type of project, these guides cover the key topics in detail.
