


Key Takeaways
- Epoxy resin is the best resin for crafting for most beginner projects
- The correct mixing ratio is the 1 factor affecting cure quality
- Resin art works best when you control temperature, bubbles, and pour depth
- Different resin types suit different crafts, from jewelry to coatings and deep casting
- Always wear PPE, including gloves, eye protection, and good ventilation
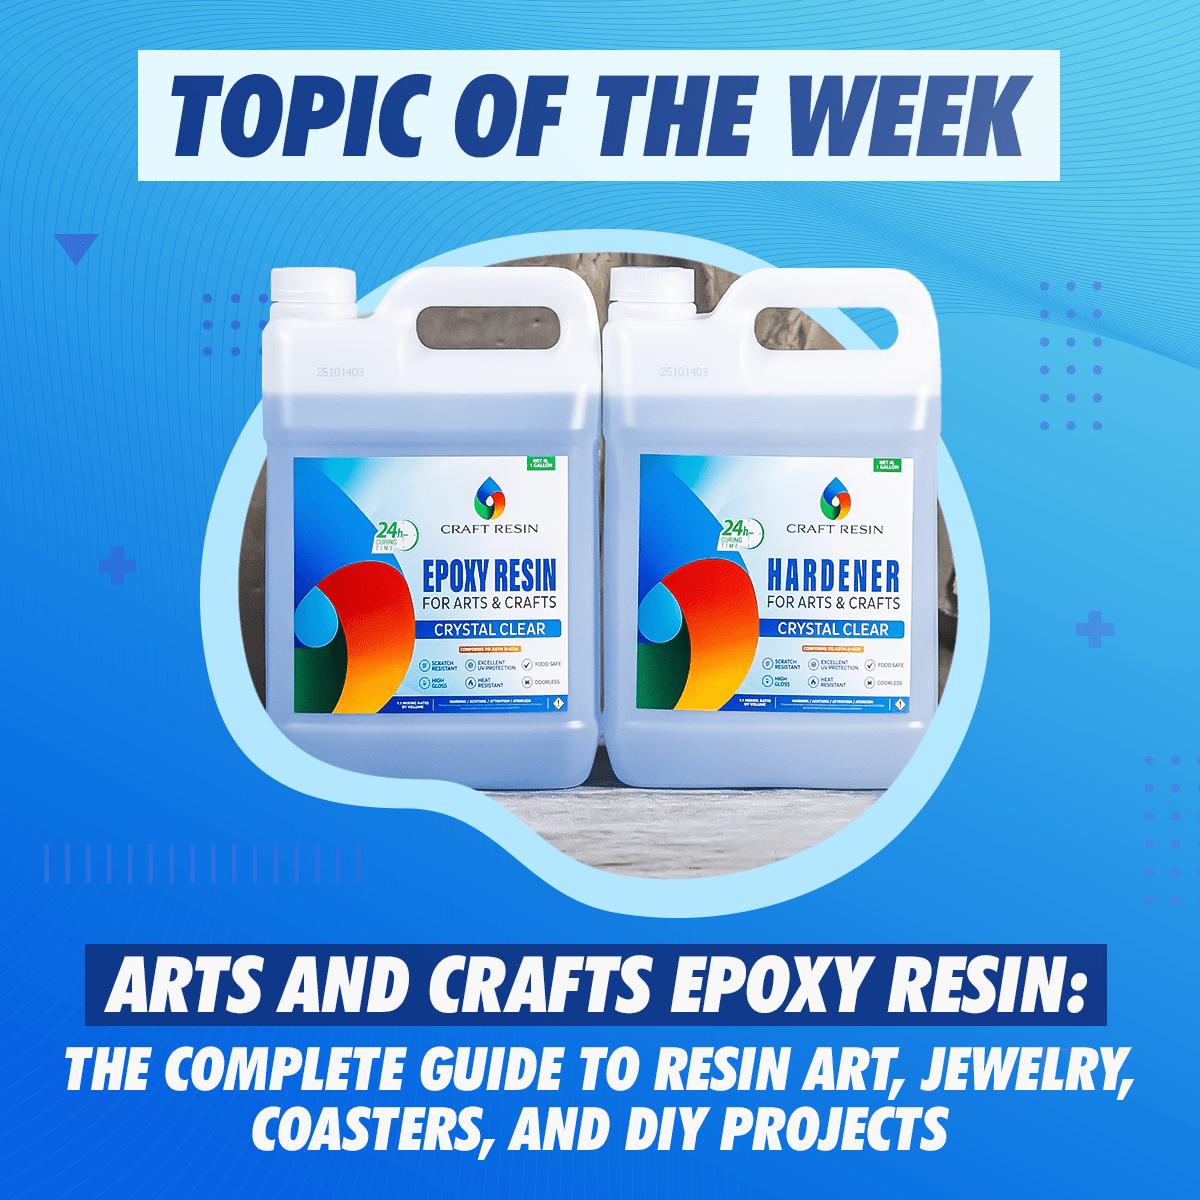
What Is Arts and Crafts Epoxy Resin?
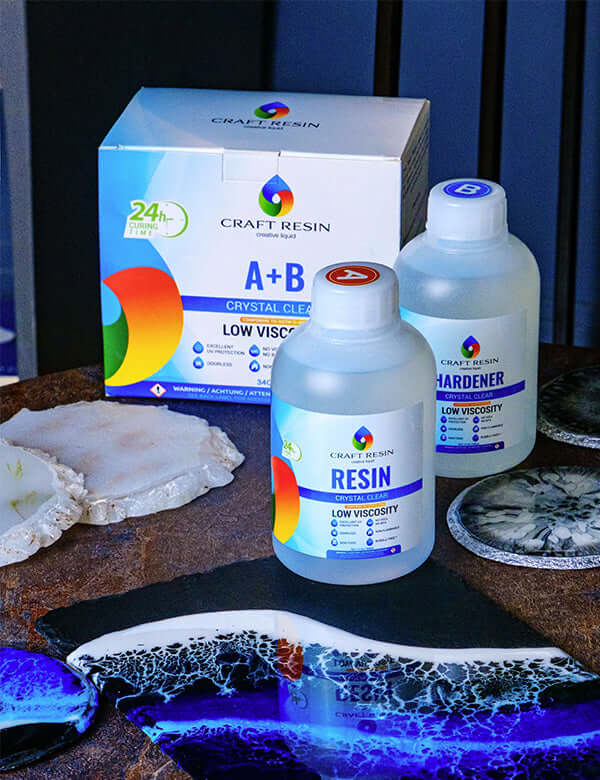
Epoxy resin is the most common resin for crafting because it is beginner-friendly, strong, and versatile. It gives makers enough working time to mix colours, pour carefully, and adjust designs before the resin cures into a hard, transparent finish.
Arts and Crafts epoxy resin is a two-part system made up of a resin and a hardener. When mixed together at equal volumes, a chemical reaction begins that transforms the liquid into a solid, clear, glass-like material. Unlike UV resin, it does not need a lamp to cure. Unlike Deep Pour resin, it is not designed for thick pours. It sits in the middle: a clean, practical formula for thin-layer creative work.

The Craft Resin Arts and Crafts formula is built around three priorities. First, optical clarity, meaning the cured result is crystal clear with no yellow tint. Second, ease of use, with a simple 1:1 mix ratio and a self-leveling formula that does not require specialist equipment. Third, surface quality, producing a high-gloss finish that looks professional straight from the mold or off the surface.
It is the right choice for anyone making resin art, jewelry, coasters, trays, keychains, charms, small molds, or coating canvas and photos. It is not the right choice for thick castings, deep molds, or heavy surface coating. For those applications, Craft Resin Deep Pour and Table Top are the correct formulas.
Types of Resin for Arts and Crafts: Which One Is Right for Your Project?
Choosing the wrong resin can leave a project sticky, cloudy, overheated, or simply unsuitable for the finish you wanted. The four main types of craft resin: epoxy resin, UV resin, table top resin, and deep pour resin - all serve different purposes. The simplest way to choose is to decide whether your project is mainly about casting into a mold or coating a surface.

Resin Types Comparison
| Comparison Point | Epoxy Resin | UV Resin | Table Top Resin | Deep Pour Resin |
|---|---|---|---|---|
| Best For | Jewelry, coasters, trays, resin art, small molds | Charms, bezels, tiny jewelry, quick fixes | Countertops, tumblers, furniture, bar tops | River tables, deep molds, flower blocks |
| Main Application | Casting and light coating | Thin-layer casting or doming | Coating | Deep casting |
| Working Style | Versatile, clear, forgiving | Fast, lamp-cured, small-scale | Thick, self-leveling, durable | Slow cure, thick pours |
| Beginner Suitability | Best overall | Good for small projects | Good with surface prep | Better with experience |
The key distinction between Arts and Crafts and Table Top is viscosity. Arts and Crafts flows freely into molds and blends colours easily. Table Top is thicker and holds position on flat surfaces without running. For more detail on this difference, read our full comparison: Table Top vs Arts and Crafts Epoxy Resin Explained.
What You Can Make with Arts and Crafts Epoxy Resin
The low viscosity and excellent colour movement make this formula the most versatile in everyday creative work. It suits any project that works with thin pours, molds, or surface coatings up to 6mm deep.
Resin art and fluid art. The 1400 CPS viscosity lets pigments travel, lace, and bloom naturally. Ocean scenes, geode patterns, abstract pours, and marbled designs all work well. Colours move freely and blend without resistance. The 35-40 minute working time gives enough room to work with multiple colours without rushing.
Jewelry and accessories. Arts and Crafts resin fills fine mold details cleanly and cures with a glass-like finish. Rings, earrings, pendants, keychains, and charms all benefit from a formula that pours thin, captures detail, and releases cleanly from silicone molds. For mold making, pair with Craft Resin Silicone 15A for maximum flexibility and detail capture on small jewelry pieces.
Coasters and trays. The self-leveling formula settles evenly across the mold surface. Inclusions like dried flowers, foil, and glitter can be embedded between layers. Pour one thin base layer, let it partially gel, add inclusions, then pour the second layer on top.
Canvas and artwork coating. A thin coat of Arts and Crafts resin seals and protects paintings, prints, and mixed media work. It adds depth and gloss to the surface. Keep each coat within the 6mm depth limit and allow full cure before applying a second coat.
Photo and paper encapsulation. Photos and paper must be sealed before resin contact. Apply a thin layer of Mod Podge or a similar sealer to both sides first. Once dry, the sealed piece can be embedded in resin without the paper absorbing moisture or warping.
Small object encapsulation. Pressed flowers, leaves, shells, and small decorative objects can be embedded cleanly in Arts and Crafts resin. The low viscosity flows around objects easily and reduces trapped air around edges. Work in thin layers and cure each one before adding the next.
Charms, keychains, and small molds. For small production runs or product making, this formula gives consistent, repeatable results. The clarity and gloss are reliable across multiple pours from the same batch.
What Arts and Crafts Resin Is Not Designed For
Understanding the limits of this formula saves time and avoids failed projects.
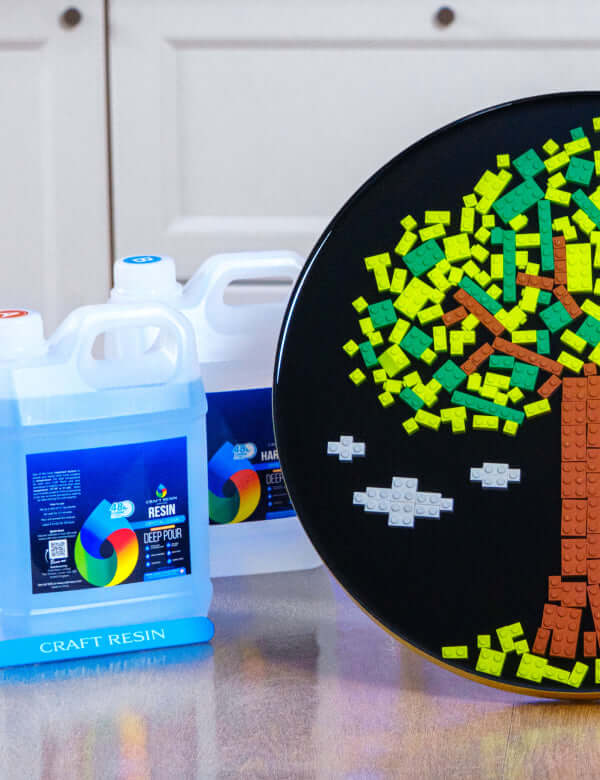
Deep pours and thick castings. Pours deeper than 6mm per layer generate too much heat during curing. This causes yellowing, warping, or cracking. For river tables, thick casting molds, or flower preservation blocks, use Craft Resin Deep Pour, which handles up to 50-60mm in a single layer.
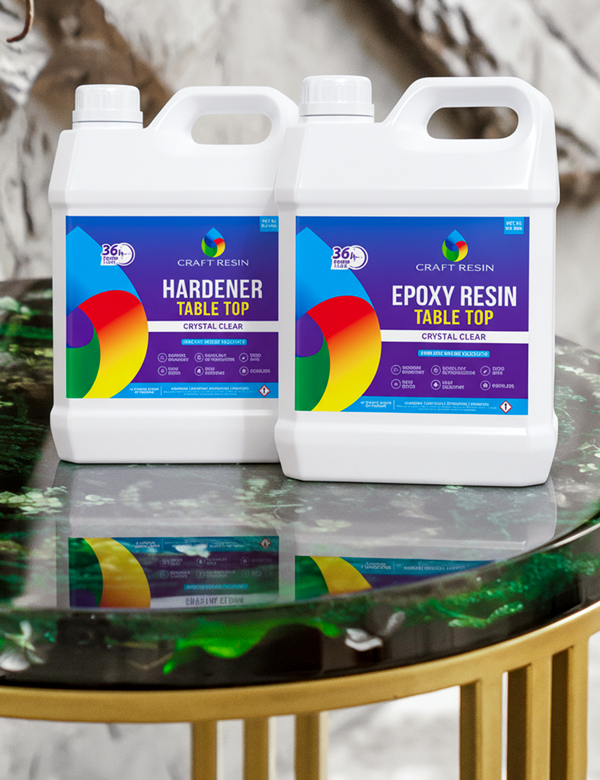
Countertops, bar tops, and large flat surfaces. Arts and Crafts resin is too thin to hold position on a flat surface. It flows to the edges and runs off before it can cure into a stable coat. For countertops, bar tops, wood furniture, and any surface that needs a durable protective finish, Table Top resin is the correct formula. Its higher viscosity (3800 CPS vs 1400 CPS) keeps it in place and builds an even coat without running.
Tumblers and curved surfaces. Arts and Crafts resin does not work for coating tumblers. On a spinning cup, the thin formula migrates downward, collects at the bottom edge, and leaves the top section bare or uneven. It is also more prone to fish-eye defects on curved surfaces. Table Top resin is specifically designed for this application. Its thickness clings to the surface while the tumbler spins and spreads evenly without dripping.
Arts and Crafts resin as a finish coat: when it works and when it does not. In some cases, Arts and Crafts resin can be used as a thin finish coat over smaller flat pieces like wooden panels, art boards, or photo frames, where the surface is contained and the piece can be kept level during the full cure. The result will be glossy and clear. However, it will not hold as thick a layer, will not build the same level of surface hardness as Table Top, and is more prone to running off at the edges on larger pieces. If surface protection and durability are the priority, Table Top is always the stronger choice. If gloss and clarity on a small contained surface is the goal, Arts and Crafts can work as a light finishing coat.
Not sure which formula fits your project? Watch our full breakdown of Arts and Crafts vs Table Top resin to see the difference in action before you pour.
Step-by-Step: How to Use Arts and Crafts Epoxy Resin
A successful pour depends on five things: the right environment, accurate measuring, proper mixing, controlled pouring, and undisturbed curing. Each step affects the final result.
Step 1: Prepare your workspace
Work on a clean, level, dust-free surface. Cover the work area to protect it from spills. The room temperature must be stable at 24-30°C / 75-85°F throughout both the pour and the cure. Temperature fluctuations cause uneven curing and surface defects. Do not work in a cold room and do not try to cure resin near a window with drafts.
Put on nitrile gloves, safety goggles, and a plastic apron before opening any bottles. If ventilation in the workspace is limited, wear a respirator. Tie back long hair.
Step 2: Measure at 1:1 by volume
Use graduated mixing cups to measure equal volumes of resin and hardener. Do not measure by weight. The 1:1 ratio is by volume only. Even a small measuring error affects the curing reaction and can leave the resin soft or sticky.

Prepare all colorants, inclusions, and tools before measuring. Once resin and hardener are in the cup, the working time begins.
Step 3: Mix slowly for 3-5 minutes
Pour the hardener into the cup with the resin and begin stirring immediately. Stir slowly and steadily for the full 3-5 minutes. Keep the mixing stick fully submerged to avoid whipping air into the mixture. Scrape the sides and bottom of the cup throughout the entire mix.
Streaks or swirls in the mixture mean it is not fully combined. Keep mixing until the material is completely uniform and clear. If you are unsure, transfer to a second clean cup and mix for one more minute.
After mixing, add colorants if needed. Use resin-compatible pigments only: mica powders, alcohol inks, resin pigment pastes, or silicone dyes. Add no more than 5-6% colorant by total volume. Let the mixed resin rest for 2-3 minutes before pouring. Surface bubbles from mixing will begin to rise and pop on their own.
Step 4: Pour slowly and close to the surface
Pour in a slow, controlled stream, keeping the cup close to the mold or surface. Pouring from height introduces air. For molds, pour from one corner and let the resin rise naturally. Do not scrape the sides of the mixing cup into the pour. Any unmixed material on the sides will not cure correctly.
Arts and Crafts resin is self-leveling. Once poured, it will settle on its own. Do not over-manipulate the surface.
Step 5: Remove bubbles
After pouring, pass a heat torch or heat gun over the surface at 15-20cm distance. Keep the heat moving continuously. One or two quick passes is enough. Holding the heat in one place causes yellowing. An alcohol-based anti-bubble spray can also be used for a smoother finish.
Repeat a torch pass after 5-10 minutes if new bubbles appear as the resin warms during the early stages of curing.
Step 6: Cover and leave undisturbed for 24 hours
Place a loose cover over the piece to protect it from dust. Do not use an airtight cover. Keep the room at the correct temperature for the full 24-hour cure period. Do not move, tilt, or touch the piece during this time.
The resin will be hard to the touch after approximately 18 hours. It reaches hard cure at 24 hours and full strength at 72 hours. Heat and scratch resistance develop fully after 72 hours.
Pro Tips for a Flawless Result
- Warm the bottles before mixing. If the resin feels thick or the room is on the cooler side, place both closed bottles in warm (not hot) water for 10-15 minutes before measuring. Warmer resin flows better, releases bubbles faster, and mixes more evenly.
- Use the double-mix method. After the first 3-5 minute mix, transfer the resin into a second clean cup and stir for one more minute. This eliminates any unmixed material clinging to the sides of the first container.
- Work in thin layers for depth. If a project needs more depth than 6mm, build it in layers. Pour the first layer, let it reach a gel state (usually around 12-18 hours), then pour the next layer directly on top. This creates a stronger bond between layers and avoids heat buildup.
- Seal porous materials first. Wood, paper, cork, and fabric all need to be sealed before resin contact. Unsealed surfaces release air bubbles up through the resin as it warms. Apply a thin barrier coat, let it cure fully, then pour the creative layer on top.
- Use the resin calculator. Before mixing, calculate the exact amount of resin needed using the Craft Resin calculator at craft-resin.eu. This avoids mixing too little (running short mid-pour) or too much (wasted material).
- Control the environment, not just the resin. Temperature and humidity affect the cure as much as the mixing ratio. Keep the room at 24-30°C with humidity around 50-65%. High humidity can cause surface cloudiness. Cold floors and drafty rooms extend cure time significantly.
Common Resin Mistakes and How to Fix Them
Measuring by weight instead of volume. Arts and Crafts resin is a 1:1 ratio by volume only. Measuring by weight gives a different ratio because resin and hardener have different densities. Always use graduated cups and measure volume.
Mixing too fast. Fast mixing whips air into the resin and creates bubbles that are harder to remove after pouring. Slow, steady stirring for the full 3-5 minutes gives a cleaner mix and fewer surface bubbles.
Pouring in a cold room. Below 18°C the cure slows dramatically. Below 15°C it may not cure at all. A cold floor or a drafty workspace in winter is enough to affect the final result. Warm the room before you start and maintain that temperature for the full cure period.
Using incompatible colorants. Oil-based paints and water-based dyes stop the curing reaction. A piece mixed with these will stay sticky permanently and cannot be recovered. Use only resin-compatible colorants: mica powders, alcohol inks, resin pigment pastes, silicone dyes.
Pouring deeper than 6mm in one layer. Thick single pours generate too much heat. The exothermic reaction accelerates and the resin can yellow, crack, or warp. Stay within the 6mm layer limit and build depth gradually across multiple cured layers.
Moving the piece before full cure. Touching or tilting the piece before hard cure at 24 hours causes fingerprints, surface dents, and uneven areas. Cover it and leave it completely undisturbed overnight.

Quick Recap
Before every pour, keep these points in mind:
- Measure at 1:1 by volume using graduated cups, not by weight
- Mix slowly for 3-5 minutes, scraping sides and bottom throughout
- Work at 24-30°C and maintain that temperature through the full cure
- Pour within the 6mm / 1/4 inch depth limit per layer
- Use compatible colorants only: mica, alcohol ink, resin pigment paste
- Remove bubbles with a torch at 15-20cm, keep it moving
- Cover and leave undisturbed for 24 hours
- Full strength and heat resistance develop after 72 hours
FAQ
What is Arts and Crafts epoxy resin used for?
Craft Resin Arts and Crafts epoxy resin is used for resin art, jewelry, coasters, trays, keychains, charms, canvas coating, photo encapsulation, and small mold casting. It is designed for thin-layer creative projects where clarity, colour movement, and a high-gloss finish matter most
How do you mix Arts and Crafts epoxy resin?
Mix equal volumes of resin and hardener at a 1:1 ratio by volume. Measure using graduated cups, not by weight. Stir slowly for 3-5 minutes, scraping the sides and bottom of the cup continuously. Allow the mixed resin to rest for 2-3 minutes before pouring
How long does Arts and Crafts epoxy resin take to cure?
Craft Resin Arts and Crafts resin reaches hard cure in 24 hours and full cure in 72 hours. Heat and scratch resistance develop fully after 72 hours. Curing is faster in a warm environment and slower in a cold one
Can you add colour to Arts and Crafts epoxy resin?
Yes. Arts and Crafts resin accepts mica powders, alcohol inks, resin pigment pastes, and silicone dyes. Use no more than 5-6% colorant by total volume. Do not use oil-based paints or water-based dyes, as these prevent the resin from curing and the piece cannot be recovered
Is Arts and Crafts epoxy resin food safe?
Yes, once fully cured. Craft Resin Arts and Crafts resin is suitable for food contact after full cure at 72 hours. Finished pieces such as coasters and serving trays can be used with food. Do not use resin surfaces with a dishwasher unless specifically confirmed by the product specification
How do you get rid of bubbles in epoxy resin?
Mix slowly to reduce air incorporation during mixing. Let the mixed resin rest for 2-3 minutes before pouring. After pouring, pass a heat torch or heat gun at 15-20cm over the surface in slow, continuous passes. An alcohol-based anti-bubble spray also works well for a smoother finish
How deep can you pour Arts and Crafts resin in one layer?
The recommended pour depth is 6mm / 1/4 inch per layer. Pouring deeper than this causes the exothermic curing reaction to generate excess heat, which can result in yellowing, cracking, or warping. For deeper projects, pour in multiple thin layers and allow each one to reach gel state before adding the next
What is the difference between Arts and Crafts resin and Table Top resin?
The main difference is viscosity. Arts and Crafts resin is thinner (1400 CPS mixed), which makes it ideal for molds and fluid art where colour movement matters. Table Top resin is thicker (3800 CPS mixed), which makes it stay in place on flat surfaces and build a durable protective coat. Arts and Crafts will run off a flat surface. Table Top will not blend colours freely in a mold. Read the full comparison: Table Top vs Arts and Crafts Epoxy Resin.
When do I need Deep Pour resin instead of Arts and Crafts?
Use Deep Pour resin when your project requires a single layer deeper than 6mm, such as river tables, thick casting molds, or large object encapsulation. Arts and Crafts resin poured at that depth will overheat during curing and fail. Deep Pour handles up to 50-60mm in a single pour without heat buildup
How much Arts and Crafts resin do I need for my project?
One litre covers approximately one square metre at the standard pour depth. For molds, calculate the volume of the mold before mixing. Use the Craft Resin calculator at craft-resin.eu to get an exact amount before mixing to avoid waste or running short mid-pour
Can I use Arts and Crafts resin on canvas or wood?
Yes. For canvas, pour a thin coat over the surface and let it self-level. For wood, seal the surface first with a thin barrier coat to prevent air bubbles from rising through the grain. Once the seal coat is fully cured, pour the creative layer on top
Ready to Start Your First Project?
Craft Resin Arts and Crafts Epoxy Resin gives you a practical, clear, and reliable formula for everyday creative work. Whether you are making your first coaster or scaling up to small batch jewelry production, the 1:1 ratio, 40-minute working time, and crystal-clear finish make it straightforward to get professional results at home.

Shop Craft Resin Arts and Crafts Epoxy Resin and start your next project with the formula built for it.

