We're not a fan of waste here at Craft Resin, although we know that some resin waste can’t be helped, we do like to minimise it where possible.
Here at Craft Resin HQ for example, any resin supplies that are sent back to us because of being roughly handled during the delivery process and therefore the bottles leaking, we either donate to resin artists who are doing workshops for charity, or we turn them into resin earrings that we then donate to the local charity shops.
When you can combine reducing waste with supporting local causes you know you’re on the right track.
Let’s cover some of the ways that are available to all resin artists to help reduce your own resin wastage and get the most out of the resin you do purchase.

Depending on the project you are working on, or amounts of projects you are working on at the time, will depend on how much left over resin you have and therefore what you can do with it.
A simple thing to do is to create something small, so always have to hand a smaller mold, maybe with earring shapes, or small trinket dish molds etc. When you have any leftover resin, you can simply use it to create these smaller projects which you can add to your saleable collections or gift to family/friends as a special treat.
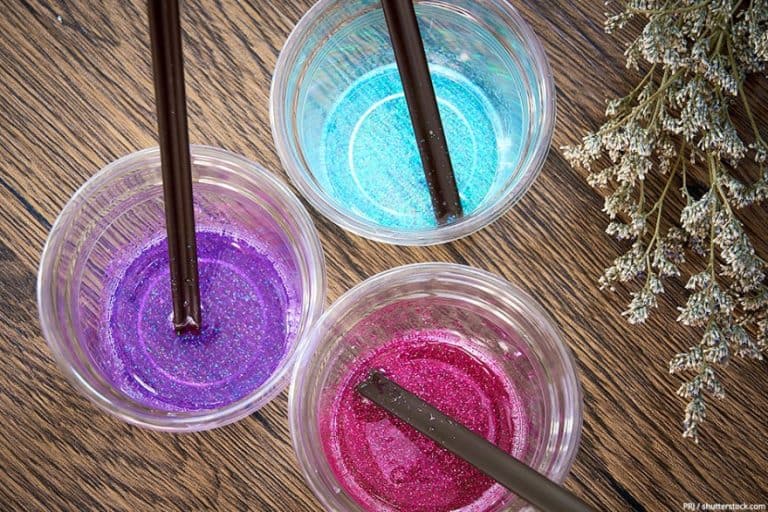
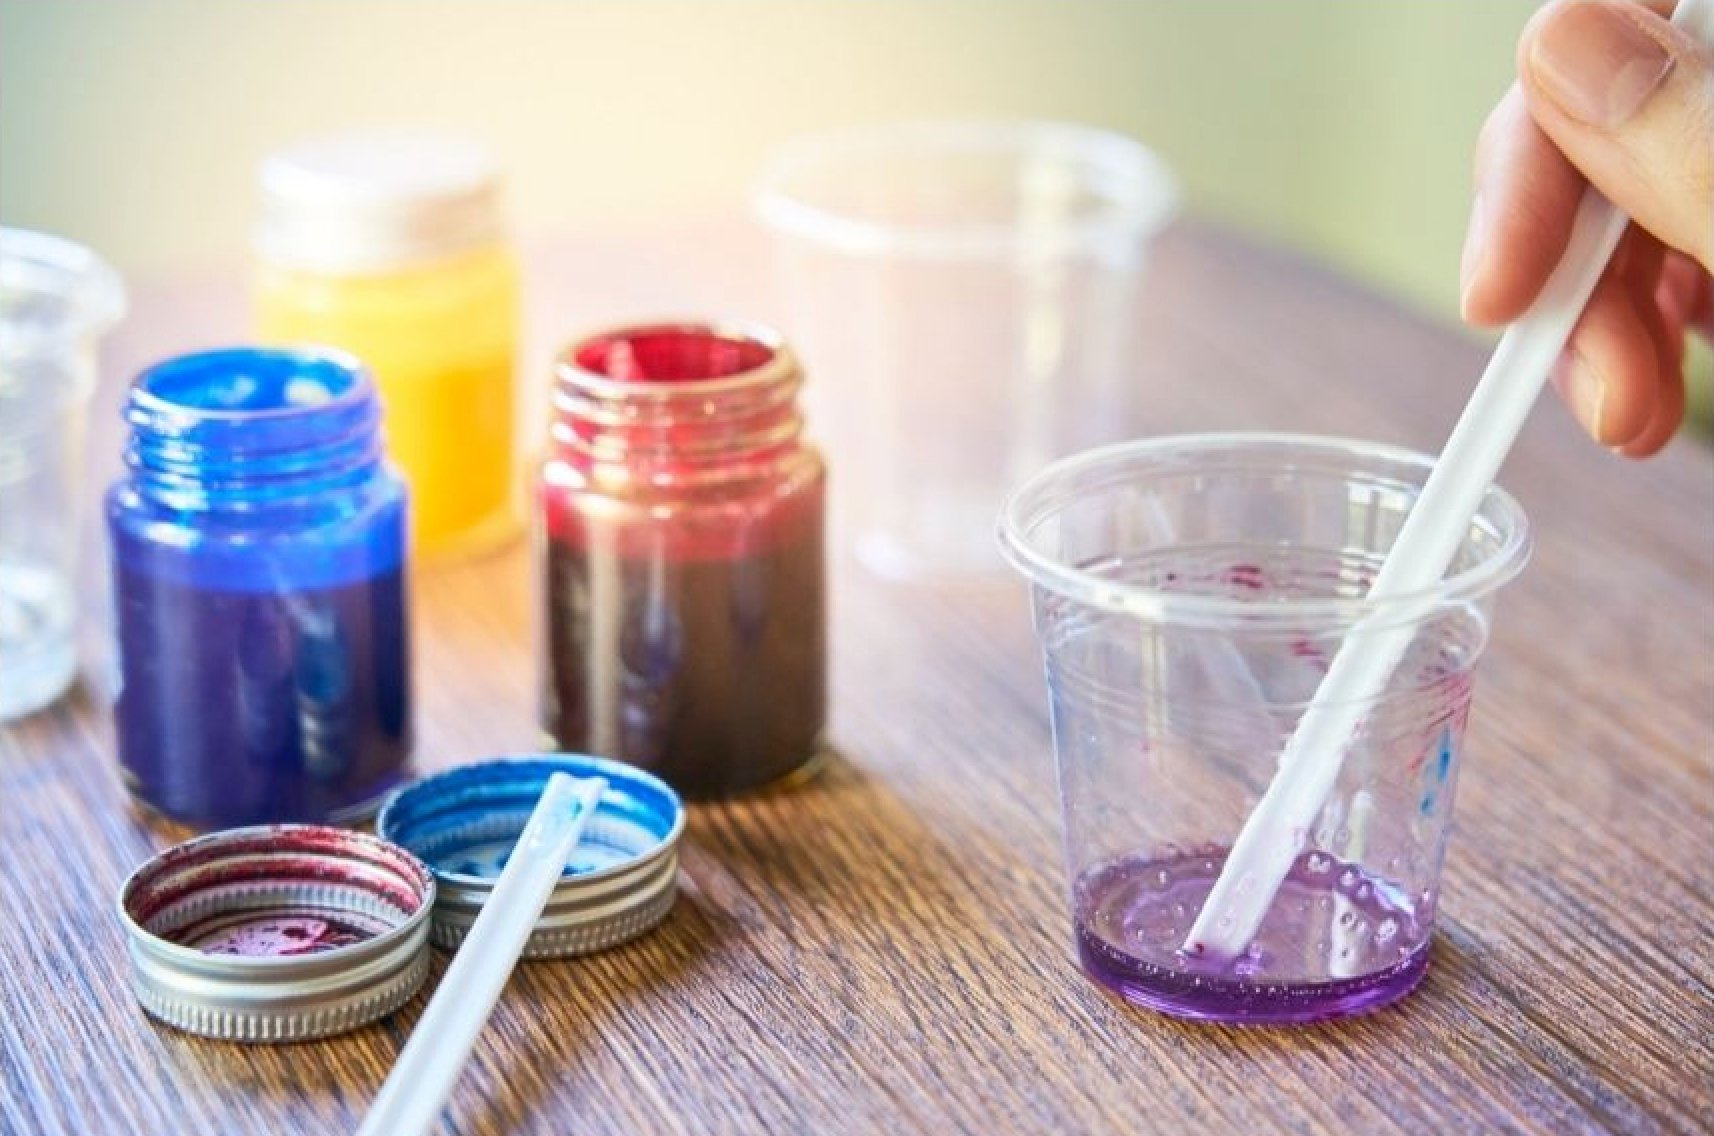
If you’re mixing lot’s of different coloured resin at once, you can always put the leftovers to the side in pots, then come back to them once you have finished your main pour and create something really magical and colourful out of all the different colours you have used that hour.
The only point to note with this is the resin’s working time. If you have enough time to pour your resin projects, and still have time to pour the leftover resin this would be fine, but if you do go over these can start to cure in your pots, so working quickly will be crucial here.
Your leftover resin will always be a bit thicker and tacky than when you first poured it in pure liquid form. This is still workable when it is like this, but you may need to rely on your mixing stick a bit more to get it into position and out of the mixing container. You might need to experiment a bit more with how you work with resin that isn’t in its liquid form as it was at the start, but that’s the joy of resin, you get to experiment and see what amazing creations you can make.
Working with thicker resin may mean that the edges of your work don’t form as neatly as they usually would when pouring with liquid resin, but don’t worry you can tidy these up. If you de-mold around the 24 hour mark, doing so gently, as it may not be fully cured yet, this will enable you to then trim the edges that have the left over whispy resin to them. After they have then fully cured you will be able to sand the sharp edges down, to make these even neater.
If you are creating a resin art piece, and you are flood pouring the resin onto your art work, you can easily catch the leftover resin from this either straight into a container, or onto something below it like a plastic covering that has a damed off area to it to allow the resin to be caught, or straight onto another canvas.
This can be very tricky to collect straight onto a canvas, but not impossible. As with all resin projects, you will want to experiment with this to find your own techniques that work for you depending on what you will want to do with the leftover resin.
When working with resin it can also be really handy to use a silicone mat. This is because resin doesn’t stick to silicone (just like your molds!) so when the resin is cured, it peels right off! Using a silicone mat not only protects your surfaces , but any drips or over spill can be peeled right off when cured! These leftover drips can then be used in other projects! They are usually thin enough to cut up and then you can pop them into a mold and pour fresh resin on top creating a totally unique piece!
If you have any of your own suggestion on how you minimise waste when working with epoxy resin, we would love to hear them. Please pop them in the comments below this blog.
Team Craft Resin

