
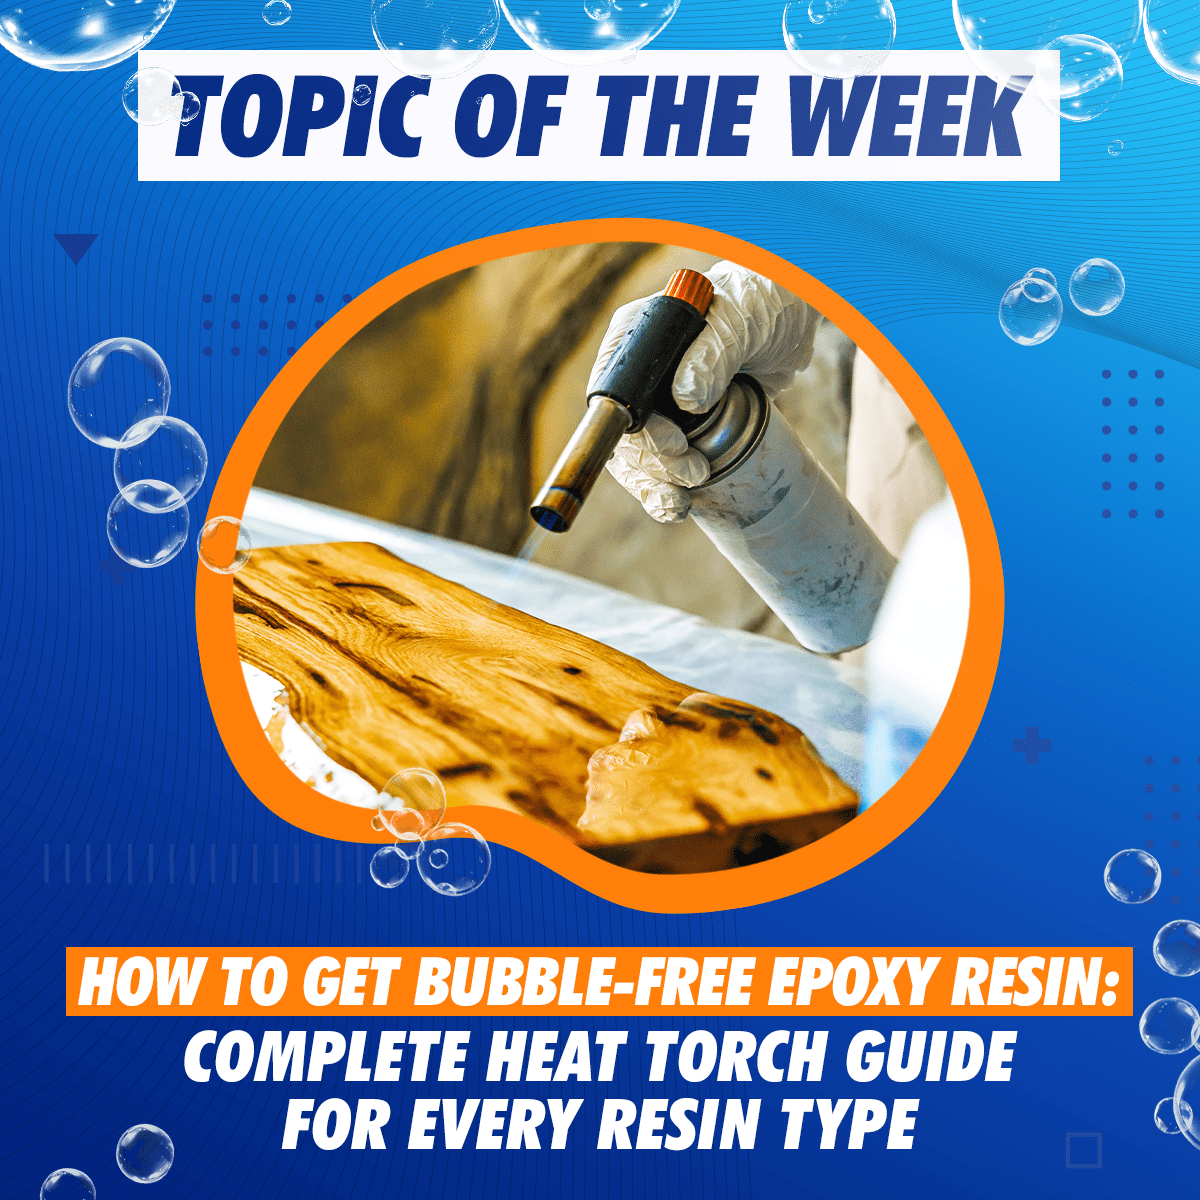
Bubbles in epoxy resin are the number one question Craft Resin gets from our community. Every day makers ask us: why are there bubbles in my resin, how do I remove them and how do I use a heat torch correctly.

The good news is that bubbles are always preventable, and when they do appear, they are almost always fixable. The problem is almost never the resin itself. It is usually a technique issue. And technique is something you can learn and control.
This guide covers everything: where bubbles come from, every removal method compared side by side, the full step-by-step heat torch technique, which Craft Resin formulas need a different approach, and exactly how to fix it when something goes wrong.
Quick Answer: To remove bubbles from epoxy resin, pass a heat torch approximately 15 to 20 cm above the freshly poured surface using continuous sweeping movements. Never hold the flame over one spot. For Deep Pour resin, use one very quick pass from a greater distance. Do not use an open flame near alcohol inks or alcohol-based bubble sprays
Why Do Bubbles Form in Epoxy Resin?
Bubbles in resin come from three main sources: air introduced during mixing, air trapped around inclusions such as flowers or glitter, and air released from porous surfaces like wood as the resin warms during early curing.
Mixing is the biggest contributor. Every time you stir resin and hardener together, you introduce air into the mixture. Slow, steady mixing reduces the amount of air folded in, but some bubbles will always be present after mixing. The rest is technique.
Understanding where your bubbles are coming from tells you which removal method will actually work. Surface bubbles that appear immediately after pouring respond well to a heat torch. Bubbles rising from a porous unsealed surface underneath the resin will keep reappearing no matter how many torch passes you do. In that case, the real fix is a seal coat applied before the pour, not a torch after it.
Bubble Removal Methods: Full Comparison
Not every project calls for a heat torch. Here is a complete breakdown of every method, what it actually does, and when to use it.
| Method | Works on | Does not work on | Notes |
|---|---|---|---|
| Heat torch | Most epoxy projects, surfaces and coatings | Projects containing alcohol inks and UV resin | Best overall tool for bubble removal. Use with extra caution on Deep Pour resin. |
| Hair dryer | Not recommended for bubble removal | Most epoxy resin projects | Moves the resin and can create cells or disturb colours instead of popping bubbles. |
| Lighter | Very small jewellery pieces | Large projects and wide surface areas | Limited heat output and difficult to control safely. |
| Toothpick | Delicate flower projects and individual bubbles near inclusions | Large surface areas | Precise but slow. Useful for bubbles that a torch cannot safely reach. |
| Alcohol spray | Alcohol ink projects and delicate flower projects | Projects that will also be treated with a heat torch | Flammable. Never combine alcohol spray with a heat torch on the same project. |
Heat Torch
The heat torch is the most effective bubble removal tool for most epoxy resin projects. The flame is direct and concentrated, which means it pops surface bubbles almost instantly. It also has a secondary benefit: the brief heat zaps and removes tiny dust particles and pet hairs that settle on the wet surface during curing.
The key is technique. The torch works because it briefly thins the surface tension of the resin, allowing bubbles to rise and pop. Done correctly, it leaves a smooth, flat, clear surface. Done incorrectly, it ripples, yellows, or permanently marks the surface.
Hair Dryer
A hair dryer does not remove bubbles from epoxy resin. The heat is too diffuse and the airflow too strong. What actually happens is the resin gets pushed around the surface, colours mix and blur into each other, and the project ends up uneven. If you have seen the cell effect in ocean resin art, a hair dryer is one way to create it intentionally. For bubble removal it is the wrong tool entirely.
Lighter
A lighter can work on very small projects like individual jewellery pieces where you only have a few small bubbles to address. The output is limited though and the flame is difficult to control at a safe distance. For anything larger than a small charm or pendant, a lighter is not practical.
Toothpick
A toothpick is a precise, gentle tool for specific situations. It works well on projects with delicate dried flowers where bubbles sit deep near the petals and stems rather than on the open surface. You can reach down into the resin and physically pop the bubble without disturbing the flower. A toothpick is also the right choice for projects that contain alcohol inks, where using any open flame is not safe.
Alcohol Spray
Rubbing alcohol spray disperses surface bubbles by temporarily reducing surface tension, similar to how a torch works but without the flame. It is useful for flower projects and any project where you cannot safely use a torch. However, alcohol spray is flammable and must never be used in conjunction with a heat torch on the same project. It also comes with health warnings for eye irritation and dizziness, so always wear a respirator and work in a ventilated space when using it.

Which Craft Resin Formula Can You Use a Heat Torch On?
This is one of the most important things to know before you pick up a torch. The answer depends on which formula you are working with.
| Formula | Can you torch? | Why |
|---|---|---|
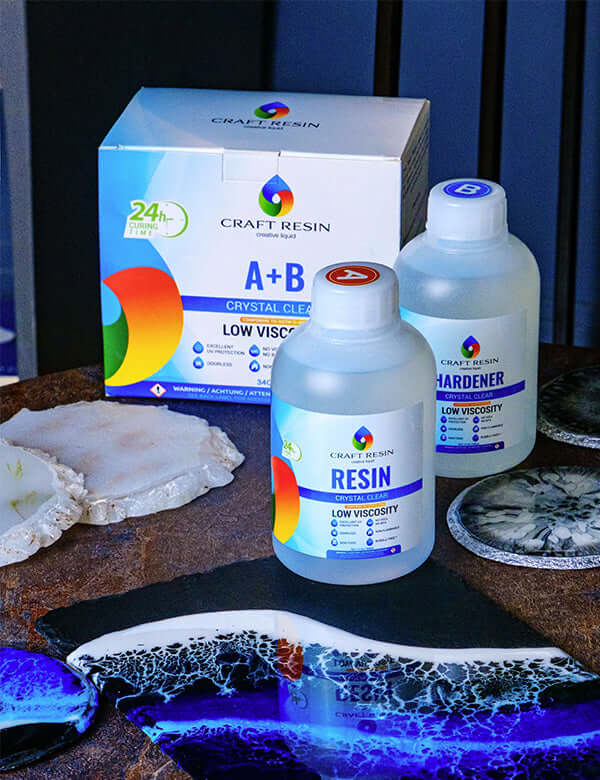
| Arts & Crafts Resin | Yes | Standard epoxy resin that responds well to controlled heat. Surface bubbles pop cleanly. |
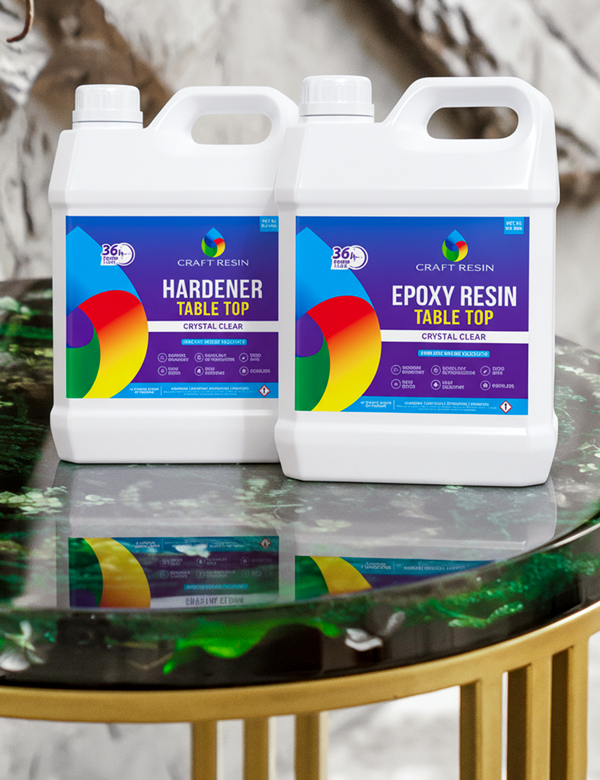
| Table Top Epoxy | Yes | A coating resin for surfaces and thin flood coats. A heat torch is effective for removing surface bubbles. |
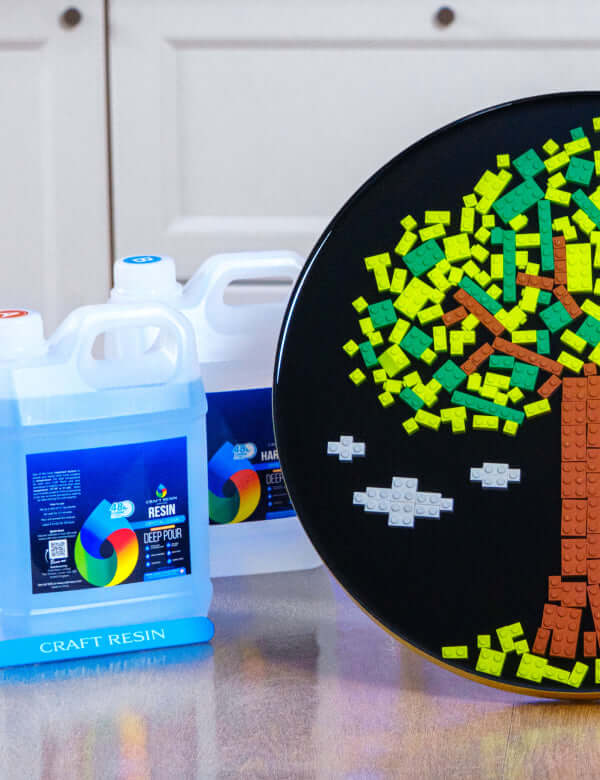
| Deep Pour Resin | With caution | Deep Pour generates heat while curing. Use only quick, light passes from a greater distance. Overheating can cause cracking or yellowing. |
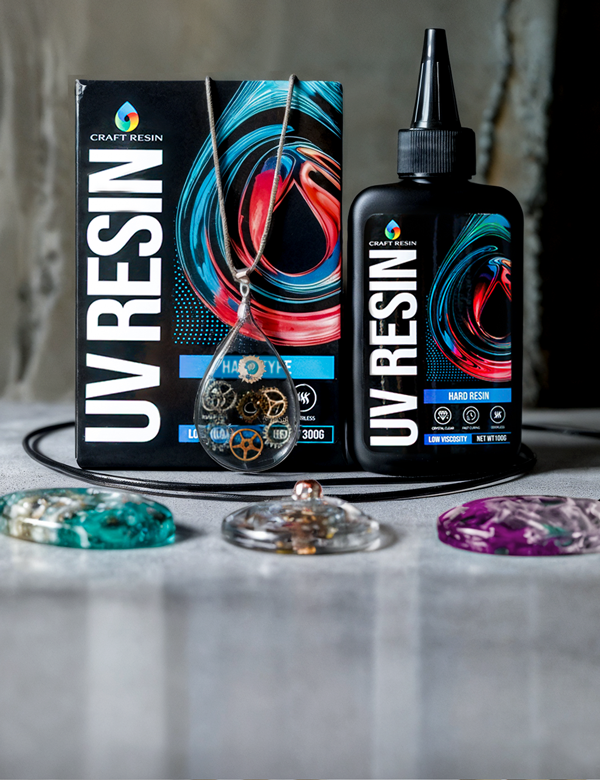
| UV Resin | No | UV Resin cures under light, and excessive heat may damage the surface. Remove bubbles with a toothpick before curing instead. |

Deep Pour resin requires extra care with the torch. Because Deep Pour cures through an exothermic reaction that already generates significant internal heat, adding too much external heat from a torch can cause the temperature inside the pour to spike dangerously. If that happens, the resin can yellow, crack, or in large pours develop a serious heat buildup that ruins the piece entirely.
That said, a very brief and careful torch pass is possible on Deep Pour if needed for surface bubbles. The key differences from standard torching are: hold the torch further away than usual, at least 25 to 30 cm, use the fastest possible passes without pausing, and do one pass only rather than multiple. If in doubt, a toothpick or blowing gently through a straw is always the safer option for Deep Pour surface bubbles and carries zero risk of overheating.
Step-by-Step: How to Use a Heat Torch on Epoxy Resin
Before you start
Read the instructions that came with your specific torch. Every torch has slightly different controls for turning on, adjusting the flame, and refilling. Make sure your resin project is on a flat, stable, level surface in a warm room before you begin. The resin should be freshly poured and still liquid.
Prepare your workspace. Remove any flammable materials from the area. Do not have alcohol spray anywhere near the torch. Keep the work area clear and make sure you have a safe place to set the torch down between uses.
-
Turn on the torch and test the flame
Turn on the torch and hold it away from the project first. Get comfortable with the flame size before moving near the resin. Most propane or butane torches for resin work best at a medium flame setting. A very large flame is harder to control and increases the risk of overheating. -
Start at a distance
Hold the torch approximately 20 to 25 cm above the surface of the resin. This is further away than you might expect, but it is the right starting point. The goal is to let the heat reach the surface gently at first. You will see the bubbles begin to respond without any risk of overheating.
-
Move in slow sweeping passes
Keep the torch moving continuously. Move across the surface in slow, steady sweeping motions from one side to the other. Do not hold the flame in one spot. Even two or three seconds of stationary heat on one area can cause a ripple, a dull patch, or a yellowed spot in the finished piece.Watch the surface as you pass over it. You will see the bubbles pop as the flame crosses them. That visual feedback tells you the distance and speed are right.
-
Adjust distance if needed
If bubbles are not responding, move the torch slightly closer, reducing the distance to around 15 cm. If the surface starts to look shiny or slightly wavy, you are too close. Move back and increase the speed of your passes. -
Check back every 5 to 10 minutes
After the first torch pass, cover the piece loosely to protect it from dust and wait 5 to 10 minutes. As the resin warms during the early stage of curing, new bubbles from deeper in the material will rise to the surface. Check back regularly and repeat the torch passes as needed.
This is especially important in the first hour after pouring. After that point the resin thickens enough that bubbles can no longer rise and the surface stabilises. -
Cover and leave undisturbed
Once the surface is clear of bubbles and the resin has begun to gel, cover the piece loosely with a cardboard box or a clean lid. This protects the surface from dust, pet hair, and debris during the full curing period. If you notice any dust or hairs settling during the early gel stage, remove them carefully with a toothpick or tweezers rather than touching the surface directly.
Heat Torch Safety Rules
A heat torch is a safe tool when used correctly. These rules apply every time you use one.

- Never point the torch toward yourself, another person, or a pet
- Never leave the flame unattended while it is on
- Do not rest a lit torch on any surface
- Keep the torch away from all flammable substances including alcohol sprays, inks, and paper
- Turn the torch off completely between uses, not just reduce the flame
- Work in a ventilated area and keep a clear path away from your workspace in case of emergency
- Store gas canisters away from heat sources and direct sunlight
Pro Tips for Better Results
Warm the room before pouring Bubbles rise faster in warmer resin. Working at the recommended temperature of 21 to 27°C means fewer bubbles to deal with after pouring because they escape naturally during the pour.
Let the resin rest after mixing After mixing resin and hardener, let the cup sit for 2 to 3 minutes before pouring. Many surface bubbles from mixing will rise and pop on their own during this rest, reducing the number you need to address with a torch.
Pour slowly and close to the surface Pouring from height introduces air into the resin as it falls. Keep the cup close to the mold or surface and pour in a slow, controlled stream. This alone significantly reduces the number of bubbles that appear after pouring.
Seal porous surfaces before the pour Wood, cork, and other porous materials release air as the resin warms during curing. These bubbles rise up from underneath and keep reappearing no matter how many times you torch the surface. The correct fix is to apply a thin seal coat of resin over the porous surface first, let it cure, and then pour the main coat on top. The torch handles surface bubbles. It cannot fix bubbles coming from below.
Use the double-mix method After the first mix, transfer the resin into a second clean cup and stir briefly again. Unmixed material clings to the walls of the first cup. The double-mix step eliminates it and produces a cleaner, more consistent mix with fewer bubbles to start with.
Over-Torching: What It Looks Like and How to Fix It
Over-torching is one of the most common beginner mistakes and it happens when the torch is held too close, moved too slowly, or kept on one area for too long.
What over-torching looks like:
- A rippled or wavy surface texture
- Dull or hazy patches where the surface was overheated
- Yellowing in specific areas rather than across the whole piece
- A surface that looks uneven after it has cured
Why it happens: The heat accelerates the curing reaction in the area directly under the flame. That section of resin begins to set before the surrounding area, creating a surface tension difference that pulls the material into a ripple or wave. Because the heat speeds up the cure, this texture can lock in permanently before the rest of the resin has a chance to self-level.
How to fix it: Do not panic. Let the piece cure completely to full hardness. Once fully cured, sand the entire surface starting with 80 to 120 grit sandpaper until the surface is uniformly matte and the ripples have been sanded flat. Wipe away all sanding dust with a clean dry cloth. Mix a fresh batch of resin at the correct ratio and apply a thin flood coat over the sanded surface. The fresh coat is self-leveling and will cure clear, leaving no trace of the sanding or the original imperfection.
Quick Recap
Before you pick up the torch, keep these points in mind:
- Use a heat torch freely on Arts and Crafts and Table Top resin
- On Deep Pour resin, torch only if necessary: hold further away (25 to 30 cm), one fast pass only, minimal heat
- Never use a torch near alcohol inks or alcohol spray
- Hold the torch 15 to 20 cm above the surface and keep it moving
- Check back every 5 to 10 minutes for the first hour as new bubbles can rise
- If you over-torch, let it cure fully, sand it flat, and apply a fresh coat
- Seal porous surfaces before the pour to prevent bubbles rising from below
The easiest way to deal with epoxy resin bubbles is to prevent them before pouring: work at the correct temperature, mix slowly, seal porous surfaces and choose the right formula for the project. When surface bubbles do appear, a controlled heat torch pass can produce a smooth, crystal-clear finish without overheating the resin.
FAQ: Heat Torch and Bubble Removal for Epoxy Resin
Why are there still bubbles after I use a heat torch?
If bubbles keep reappearing after multiple torch passes, they are most likely coming from a porous surface below the resin, such as unsealed wood, rather than from the resin itself. The heat torch can only pop bubbles on or near the surface. Bubbles rising from a porous base require a seal coat applied before the pour to close off the pores. Seal the surface first, let it cure fully, and pour the main coat on top.
How far should I hold the torch from the resin?
Start at 20 to 25 cm and move closer to around 15 cm if bubbles are not responding. The exact distance depends on the size of your torch and the flame setting. Keep the torch moving at all times regardless of distance. Stationary heat causes rippling and yellowing.
Can I use a hair dryer instead of a heat torch?
No. A hair dryer does not remove bubbles from epoxy resin. The airflow moves the resin around the surface, causes colours to mix and blur, and creates an uneven finish. Use a heat torch for standard epoxy projects. For projects where a torch is not safe, use rubbing alcohol spray or a toothpick instead.
Can I use a heat torch on Deep Pour resin?
Yes, but with significantly more caution than on other formulas. Deep Pour resin generates heat during its own curing reaction through the exothermic process. Adding external heat from a torch on top of that increases the internal temperature of the pour and raises the risk of yellowing, cracking, and heat buildup, especially on large volumes. If you need to use a torch on Deep Pour, hold it further away than usual at around 25 to 30 cm, make only one very quick pass, and do not repeat. The goal is the briefest possible exposure to pop surface bubbles without adding meaningful heat to the pour. For anything beyond a single light pass, a toothpick or blowing gently through a straw is the safer choice and carries no risk of overheating.
What do I do if I over-torch my resin?
Let the piece cure to full hardness. Sand the entire surface with 80 to 120 grit sandpaper until uniformly matte. Wipe away all dust with a dry cloth. Apply a fresh thin coat of mixed resin over the sanded surface. The self-leveling coat fills all imperfections and cures clear with no visible repair marks.
How many times should I torch after pouring?
There is no fixed number. Torch once immediately after pouring, then check back every 5 to 10 minutes for the first hour. Each time new bubbles appear on the surface, do another pass. Once the resin begins to gel and no new bubbles are rising, the torching stage is complete.
Can I use a torch on resin with flowers or botanicals in it?
It depends on the project. If the flowers are fully embedded below the surface and the resin above them is standard epoxy, a torch pass over the surface is safe. If the flowers are at or near the surface, use a toothpick to pop bubbles near delicate petals to avoid scorching them. Never torch a project that contains alcohol inks or alcohol spray.
Is rubbing alcohol spray safe to use on resin?
Rubbing alcohol spray is safe to use on resin projects where a torch is not appropriate, such as flower projects or projects with alcohol inks. However, it is flammable and must never be used alongside a heat torch. It also comes with warnings for eye irritation and dizziness. Always wear a respirator and work in a well-ventilated space when using it.
Further Reading
For more guidance on preventing bubbles, understanding the curing process, and repairing surface imperfections in epoxy resin, continue with these Craft Resin guides.
Not sure which resin to use?
Compare Arts & Crafts, Table Top and Deep Pour formulas to choose the right viscosity, pour depth and working time for your project.
- Arts & Crafts Resin — jewellry, coasters and molds;
- Table Top Epoxy — surfaces and thin flood coats;
- Deep Pour Resin — thicker castings and woodworking.