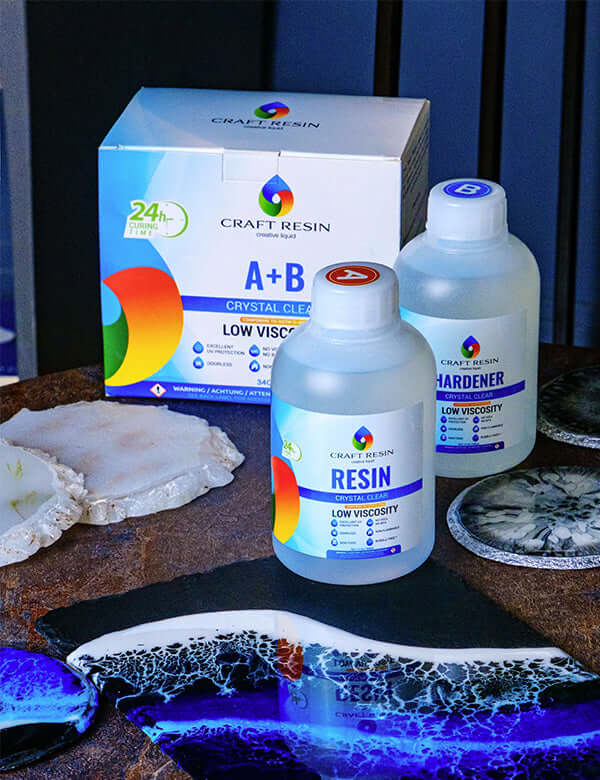
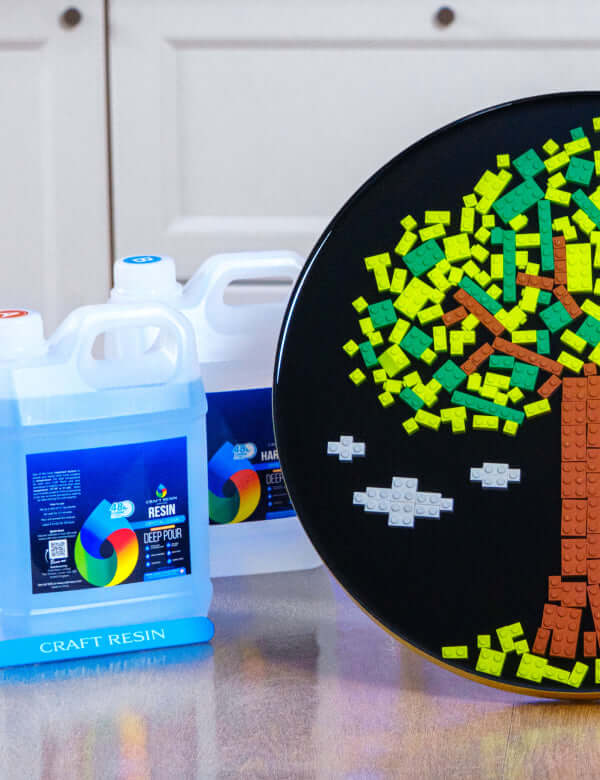
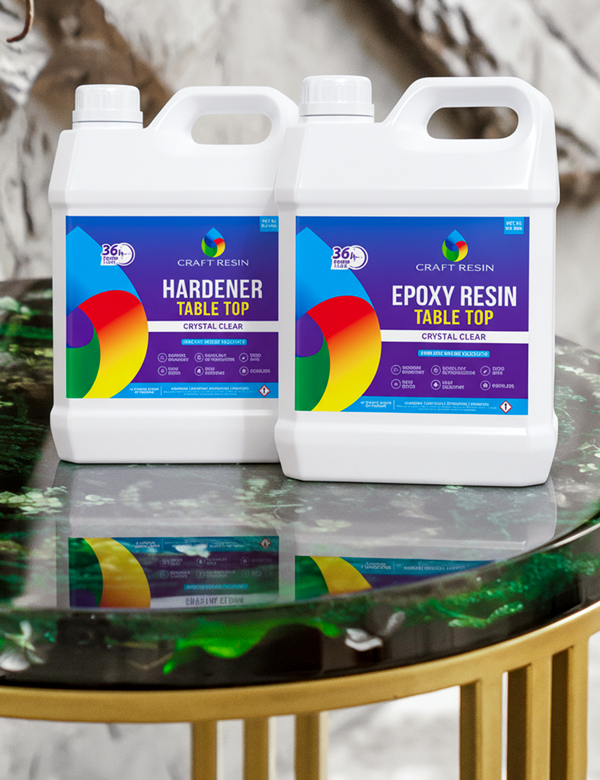


That's right everyone, we have launched a brand new epoxy resin!!! We know this will make many of you very excited. We now have a Deep Pour Epoxy Resin to offer you all!
We know that for all the artists who create larger, thicker projects that need greater amounts of epoxy resin to work with, this will come as great news.
With the new Deep Pour Resin different techniques will be needed compared to our surface formulas, Craft Resin Arts & Crafts and Craft Resin Table Top Epoxy. In this blog we'll be sharing the techniques you will need to put into place when using this new resin.
We would really appreciate it if you could help us spread the awareness of the differences with our newest resin if you have been using our resin for a while and will be switching to this new one for some of your upcoming projects. If you see our upcoming social media shares about the differences could you please re-share to your stories, this will be a huge help 🙏
So let's dive into the details of this new epoxy resin and how to use it to create the best results in your larger projects:
1. Prepare:
As always, prepare your workspace ready to resin. We recommend covering your work surface to protect it from potential spillages, as all epoxy resin is runny and very sticky. It is almost impossible to remove from carpets and other materials if spillages do happen, protection is better than trying to clean it up afterwards.
The ideal working temperature for both types of our clear epoxy resin is between 21–27°C or 70–81°F (for Deep Pour, 22–25°C for batches of 1–5 kg and cooler for larger pours). Resin colder than this is thick, clumpy, hard to work with and open to micro bubble issues. Warm resin is easier to work with and won't cause micro bubbles.
Make sure you have the correct Personal Protective Equipment (PPE). Apply gloves to protect the skin on your hands, and wear a respirator if ventilation is poor or unknown. And always wear a plastic apron that won't absorb the epoxy liquid and wear old clothes that you don't mind getting messy in.
Prepare all the tools for your project and have them close to hand, stir stick, spreader, plastic measuring cup, torch, dust cover, alcohol, paper towels and hand cleaner. We recommend plastic tools when working with resin for good reason: epoxy resin doesn't adhere to plastic which makes the cleaning process much easier.

2. Measure:
This is where you will find the biggest difference between our surface formulas, which are measured by equal 1:1 volume - Our new Deep Pouring Epoxy Resin needs to be measured by 2 parts resin and 1 part hardener, 2:1 by volume. Measuring by the wrong ratio may alter the chemical reaction and mixture will not cure properly, so ensure you have the correct measurements for the different epoxy resin you may have.
Our Deep Pour labels are different to the labels on our surface formulas, so this should make it clear which resin is which. However if you do decant the resin into other bottles that aren't labelled correctly then these may get confused and you could end up using the incorrect measurements.
Tip:
Mix resin and hardener at room temperature to reduce bubbles. Warm up bottles of resin hardener prior use in warm water (not hot), with the lids done up so no water gets inside the bottles for 5-10 minutes.
3. Mix:
Stir the resin and hardener together for 3-5 minutes, which is the same for both types of epoxy resin that we supply.
Tip:
To ensure the resin and hardener is mixed for the correct time keep watching it, as streaks will be present when they aren't mixed together enough, keep going for longer if streaks are still seen.
Not stirring properly will result in a sticky resin that will never cure, so this is another important step to get right.
Scrape the bottom and sides of your mixing vessel as you stir to ensure the entire mixture catalyzes and that there is no remaining unmixed resin or hardener stuck to the sides that may prevent a proper cure. But then...
4. Pour:
Avoid scraping the sides as you pour, in case there is any unmixed resin or hardener stuck to the sides - if this gets mixed into your catalyzed resin, you may end up with soft sticky spots in your cured resin.
5. Wait:
Cover your artwork to protect it from dust and let it set and cure. Keep the temperature consistent over this time in accordance with the temperatures above.
In about 48 hours your project should be hard to the touch. After 72 hours it will be fully cured. This is longer than Arts & Crafts, which only needs about 24 hours to cure enough to de-mold, so please take these longer curing times into consideration when setting your customers expectations for when they can get their project through.
After 21 days it will be heat and scratch resistant, which is the same for both our brands epoxy resin variations. By scratch resistant we mean when items like e cups are placed on the resin surfaces, epoxy resin isn't cut proof when using items like sharp knives.
If your work doesn’t harden/cure then please check over the steps above. If you are unsure where you may have gone wrong, please use the contact us form and share with our team the issues that you're having and some more information about your specific project, they will be able to advise you further.

Other Differences To Note With Our New Deep Pour Epoxy Resin:
Deep Pour Heat Resistance:
The heat resistance of the new Deep pour Epoxy Resin is slightly lower than our other epoxy resin. The maximum temperature that cured Deep Pour Craft Resin can tolerate after 21 days is 80C or 176F. Typically, the heat generated from a hot mug will not damage the resin surface.
If you need a higher heat resistance than this, one option is to coat the surface of your project in a layer of Craft Resin Table Top Epoxy, the surface formula in the range. Heat-resistance figures differ between the formulas, so check the figure on the product page for the one you use.
Deep Pour Working Time:
You have a longer working time or pot life when using Deep Pour than with our surface formulas. When you mix resin and hardener together you have a working time of about 1 hour.
This does depend on the volume of mixed resin and hardener and temperature of your workspace. For the best results make sure your workspace is set up so that once the resin and hardener are mixed you can start working straight away.
Deep Pour Recommended Depth Of Pour:
Craft Resin Deep Pour can be poured in thick layers of up to 5 cm (2 inches). It is designed for large size wood table casting, lamp potting, deep molds, etc.
Craft Resin Deep Pour is just as safe to use as our surface formulas. Please take the same safety precautions when using both. You can learn more about the safety precautions to take in our safety blog:
Everything you need to know about the safety of Craft Resin
You'll find more details about safety regulations in our SDS:
Deep Pour Safety Data Sheets
Deep Pour is formulated for higher yellowing resistance than standard coating grades (manufacturer statement, no test method given).
The result is that it stays clear both in the bottle and once cured.

Just like Craft Resin Arts & Crafts you can still create bubble free creations with Deep Pour:
Warm up the resin bottles before use, place the bottles in a sink with warm water for about 10-15 minutes. Make sure the lids are kept on the bottles fully secured, any moisture that gets into your resin will affect your project.
Bubbles may still appear in your work during curing. Monitor this over the first few hours and use a torch in sweeping motions to disperse them.
Make sure you mix your resin and hardener in a slow and controlled way to avoid bubbles being created. When pouring your resin mix pour slowly, pour it close to the mold/substrate.
Projects with natural objects in them like flowers or wood are more likely to create bubbles, so monitor these more closely, you might need to seal these natural items first.
Our Brand Ambassadors are working on more how to content in the form of videos for the new Deep Pouring Epoxy Resin as we speak. Keep your eyes peeled on our social media channels and YouTube channel over the next few weeks as these are all released:
Craft Resin YouTube (subscribe so you get notified when they launch!)
Craft Resin Instagram
Craft Resin Facebook
If you'd like to purchase Craft Resin Deep Pour Epoxy Resin then visit our store today:
Shop Craft Resin Deep Pour

We do have a resin calculator available to work out how much epoxy resin you'll need for your larger projects. Visit the link below to work out how much you need:
Craft Resin Calculator
We hope you all enjoy using our new Deep pour Epoxy Resin, please make sure to continue tagging us on your Instagram Posts and Stories so we can see all the wonderful creations you make using it!
@craft.resin
Topic Of The Week Giveaway:
We have attached a giveaway to these Topic Of The Week announcements on our Instagram platform, this is helping us to spread the knowledge of how to use epoxy resin further, but also enabling anyone who helps us share this information to win free resin and mica powders.

To enter the weekly giveaway please see the latest post #CRWEEK9 on our Instagram feed/highlights and follow the instructions to enter:
Team Craft Resin